
I like to have different little bags for different things when packing for a trip. There should be one for my underwear, one for electronics such as chargers and batteries, something else for cosmetics and toiletries, and of course, another one should be reserved for the laundry later. This is where drawstring bags come in handy especially when I try to avoid using plastic bags as much as I can.
I got inspired to sew one when I saw a tutorial video by The Crafty Gemini on YouTube. I’m grateful for her tutorials because they are so helpful for beginners like me. (Thank you so much, Vanessa!) Check out her video here, or you can also indulge me and go on scrolling down. I only changed the measurements a bit and re-worded the steps, otherwise this project is totally copied from hers.
Materials needed:
- 2 rectangular pieces of cotton fabric measuring 36 x 53 cm or depends what size you want your bag to be
- Drawstring or ribbon
- Iron
- a safety-pin

- Lay down the two rectangular pieces of fabric vertically with the un-pretty sides facing you. Create a hem by folding about a centimeter on the top edge of the fabric. Iron as you fold.
- Double the fold as shown on the second photo. Iron once more. Do the same steps to the other piece of fabric.
- Use sewing pins to make sure your hems are both in place.
- Sew the hem as close as you can on the edge, back-stitching on both ends.

- As shown on the left photo above, the two pieces of fabric have the hems already sewn. Put them together with the pretty sides touching together. The next thing is to measure about 8 centimeters from the top down on both sides. Mark with a fabric marker because this is where you start sewing all the way down and around till you reach the other marked side.
- After sewing the bag, trim the edges for a neat look. To keep the edges from fraying later, run a zigzag stitch as shown on the above right photo.
 Next step is to make a seam for your drawstring or ribbon to go through to hold the bag:
- Top-left photo: Fold the top edge down to meet your 8-cm mark where you started stitching. Iron in place.
- Turn the fabric and do the same on the other side. Your fabric will now look like the top-right photo.
- Lower-left photo: On your sewing machine, stitch the seam close to the folded edge going all the way around. When you get to the corner seams just push them together and continue stitching. Remember to always back-stitch at the beginning and the end.
- Now the seams are sewn together, time to get your drawstring. I didn’t have one but I had a long piece of left-over ribbon from Christmas so I used it instead. You can measure the length of the ribbon or drawstring by doubling the width of the fabric and adding an extra 10 centimeters, shown on the lower-right photo above.

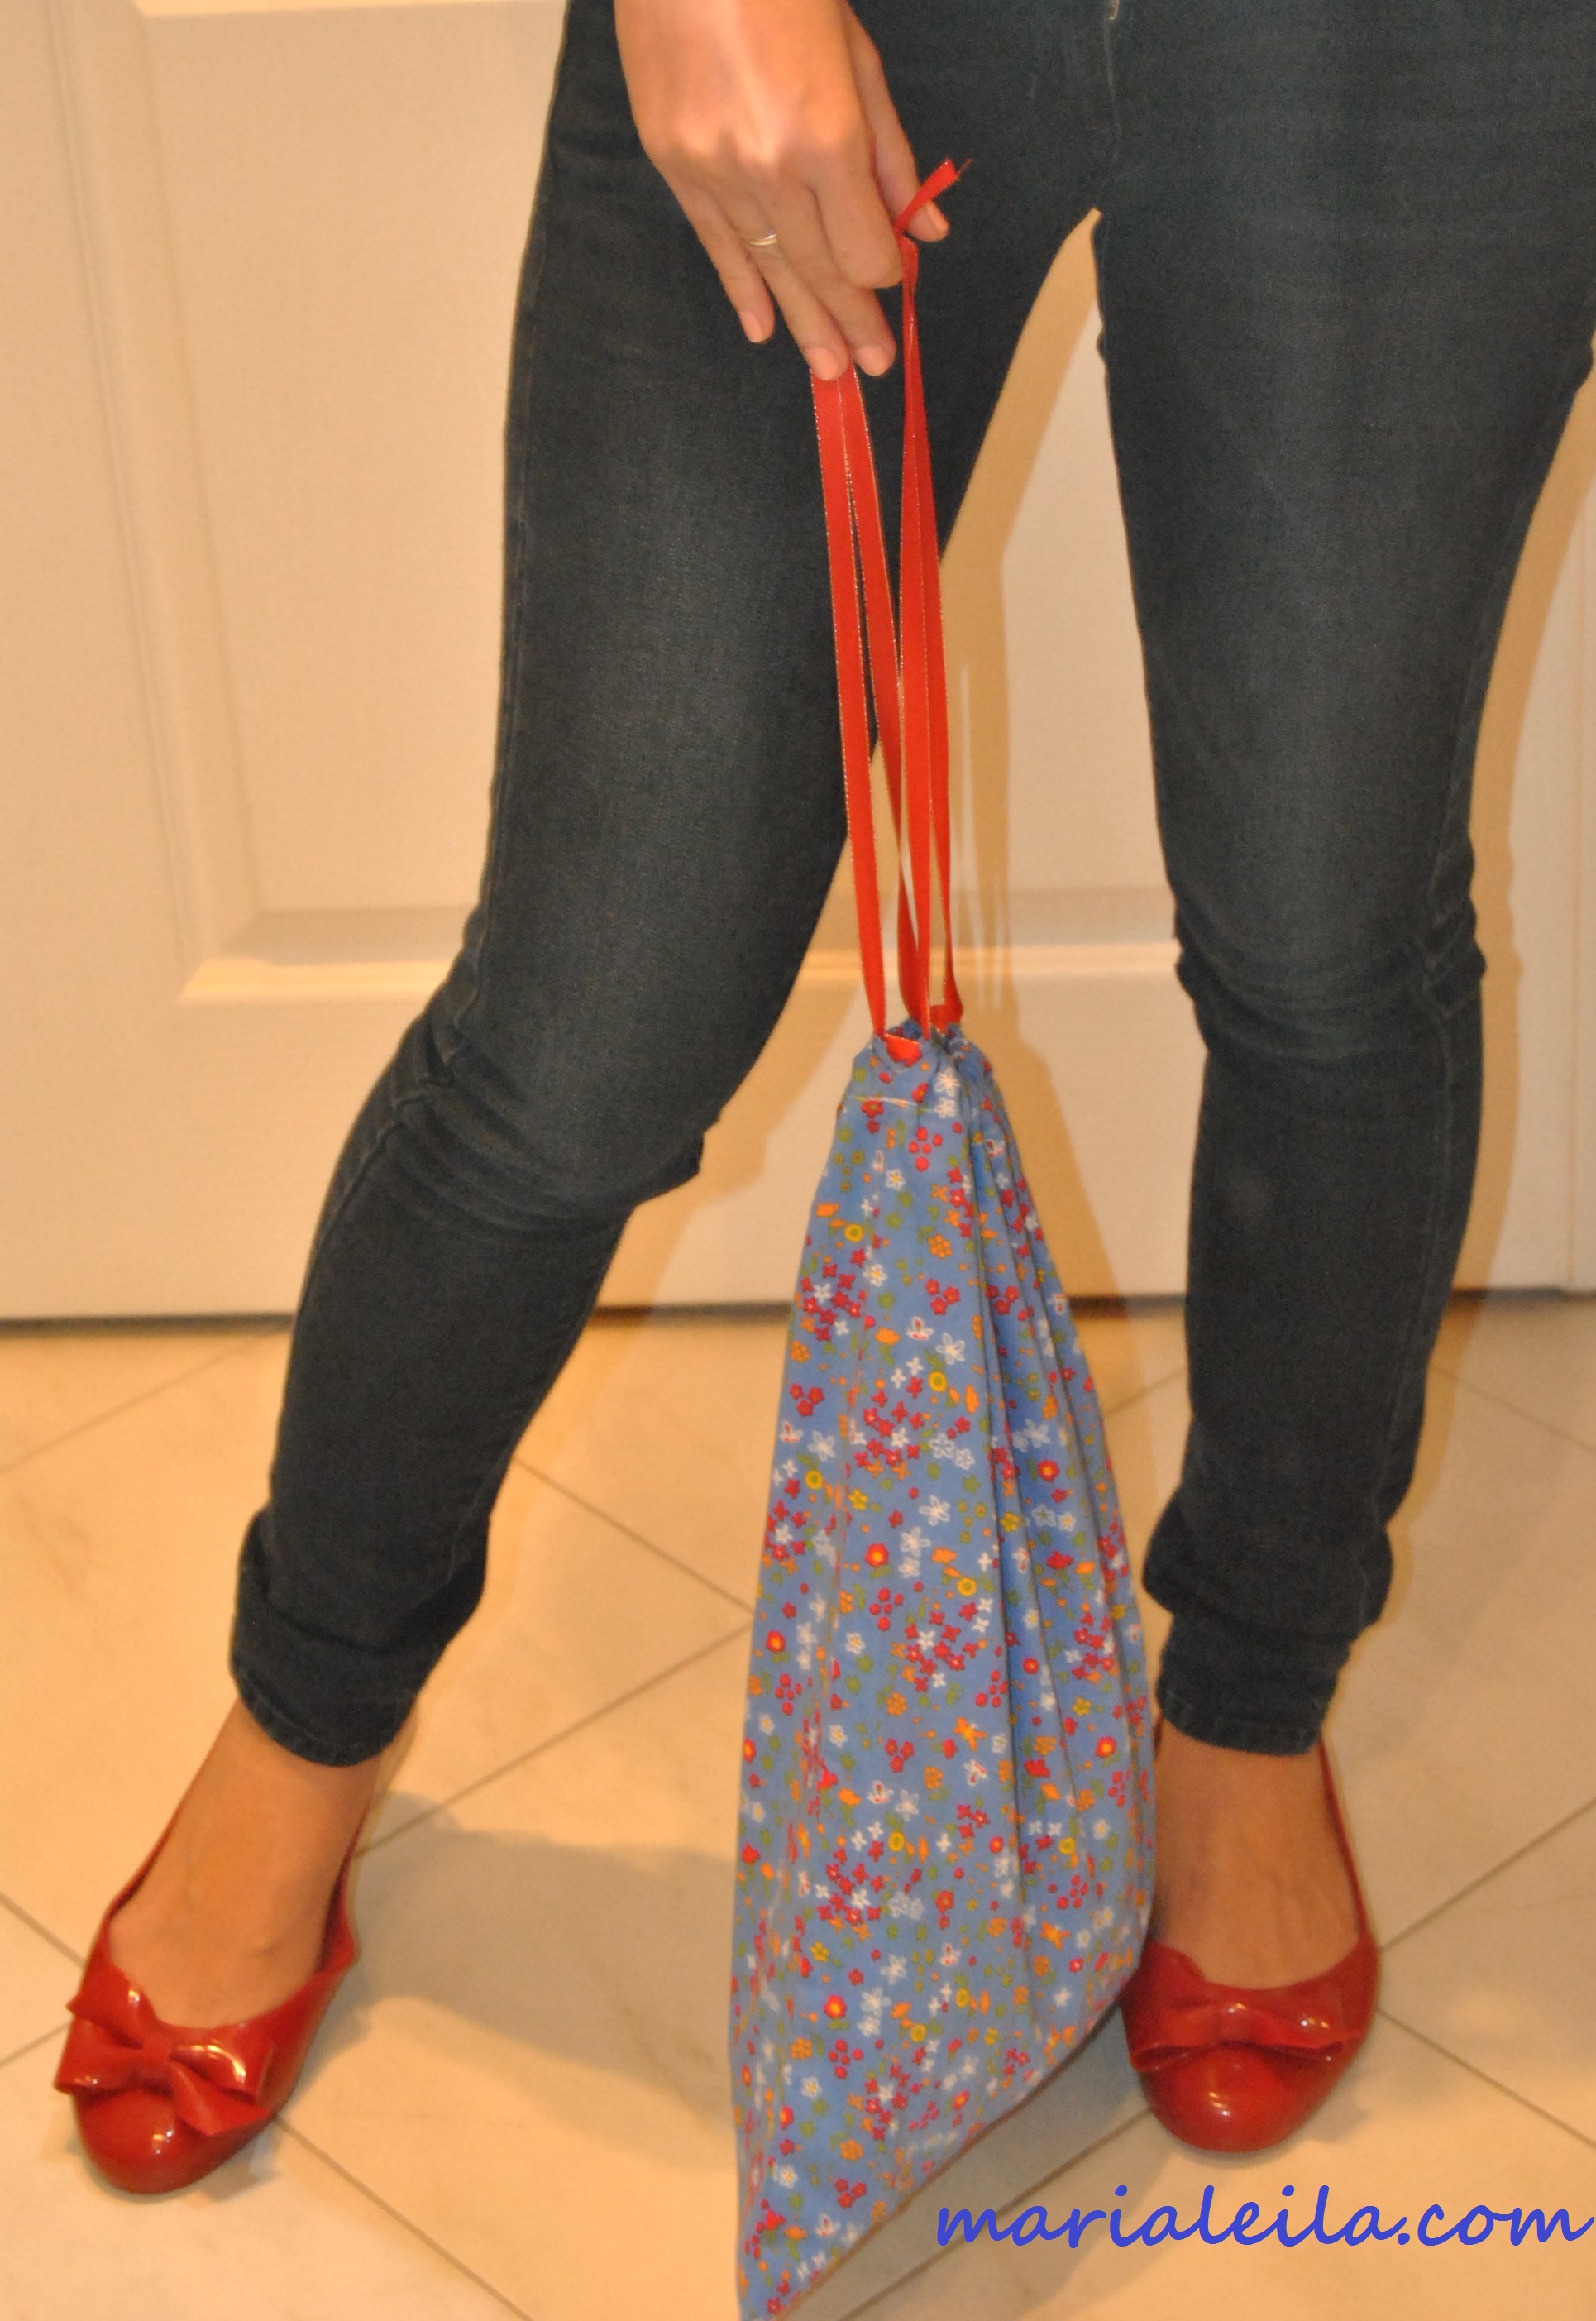
- Use a safety-pin to easily glide the ribbon through. Tie ends together.
- Repeat the same step for the second ribbon.
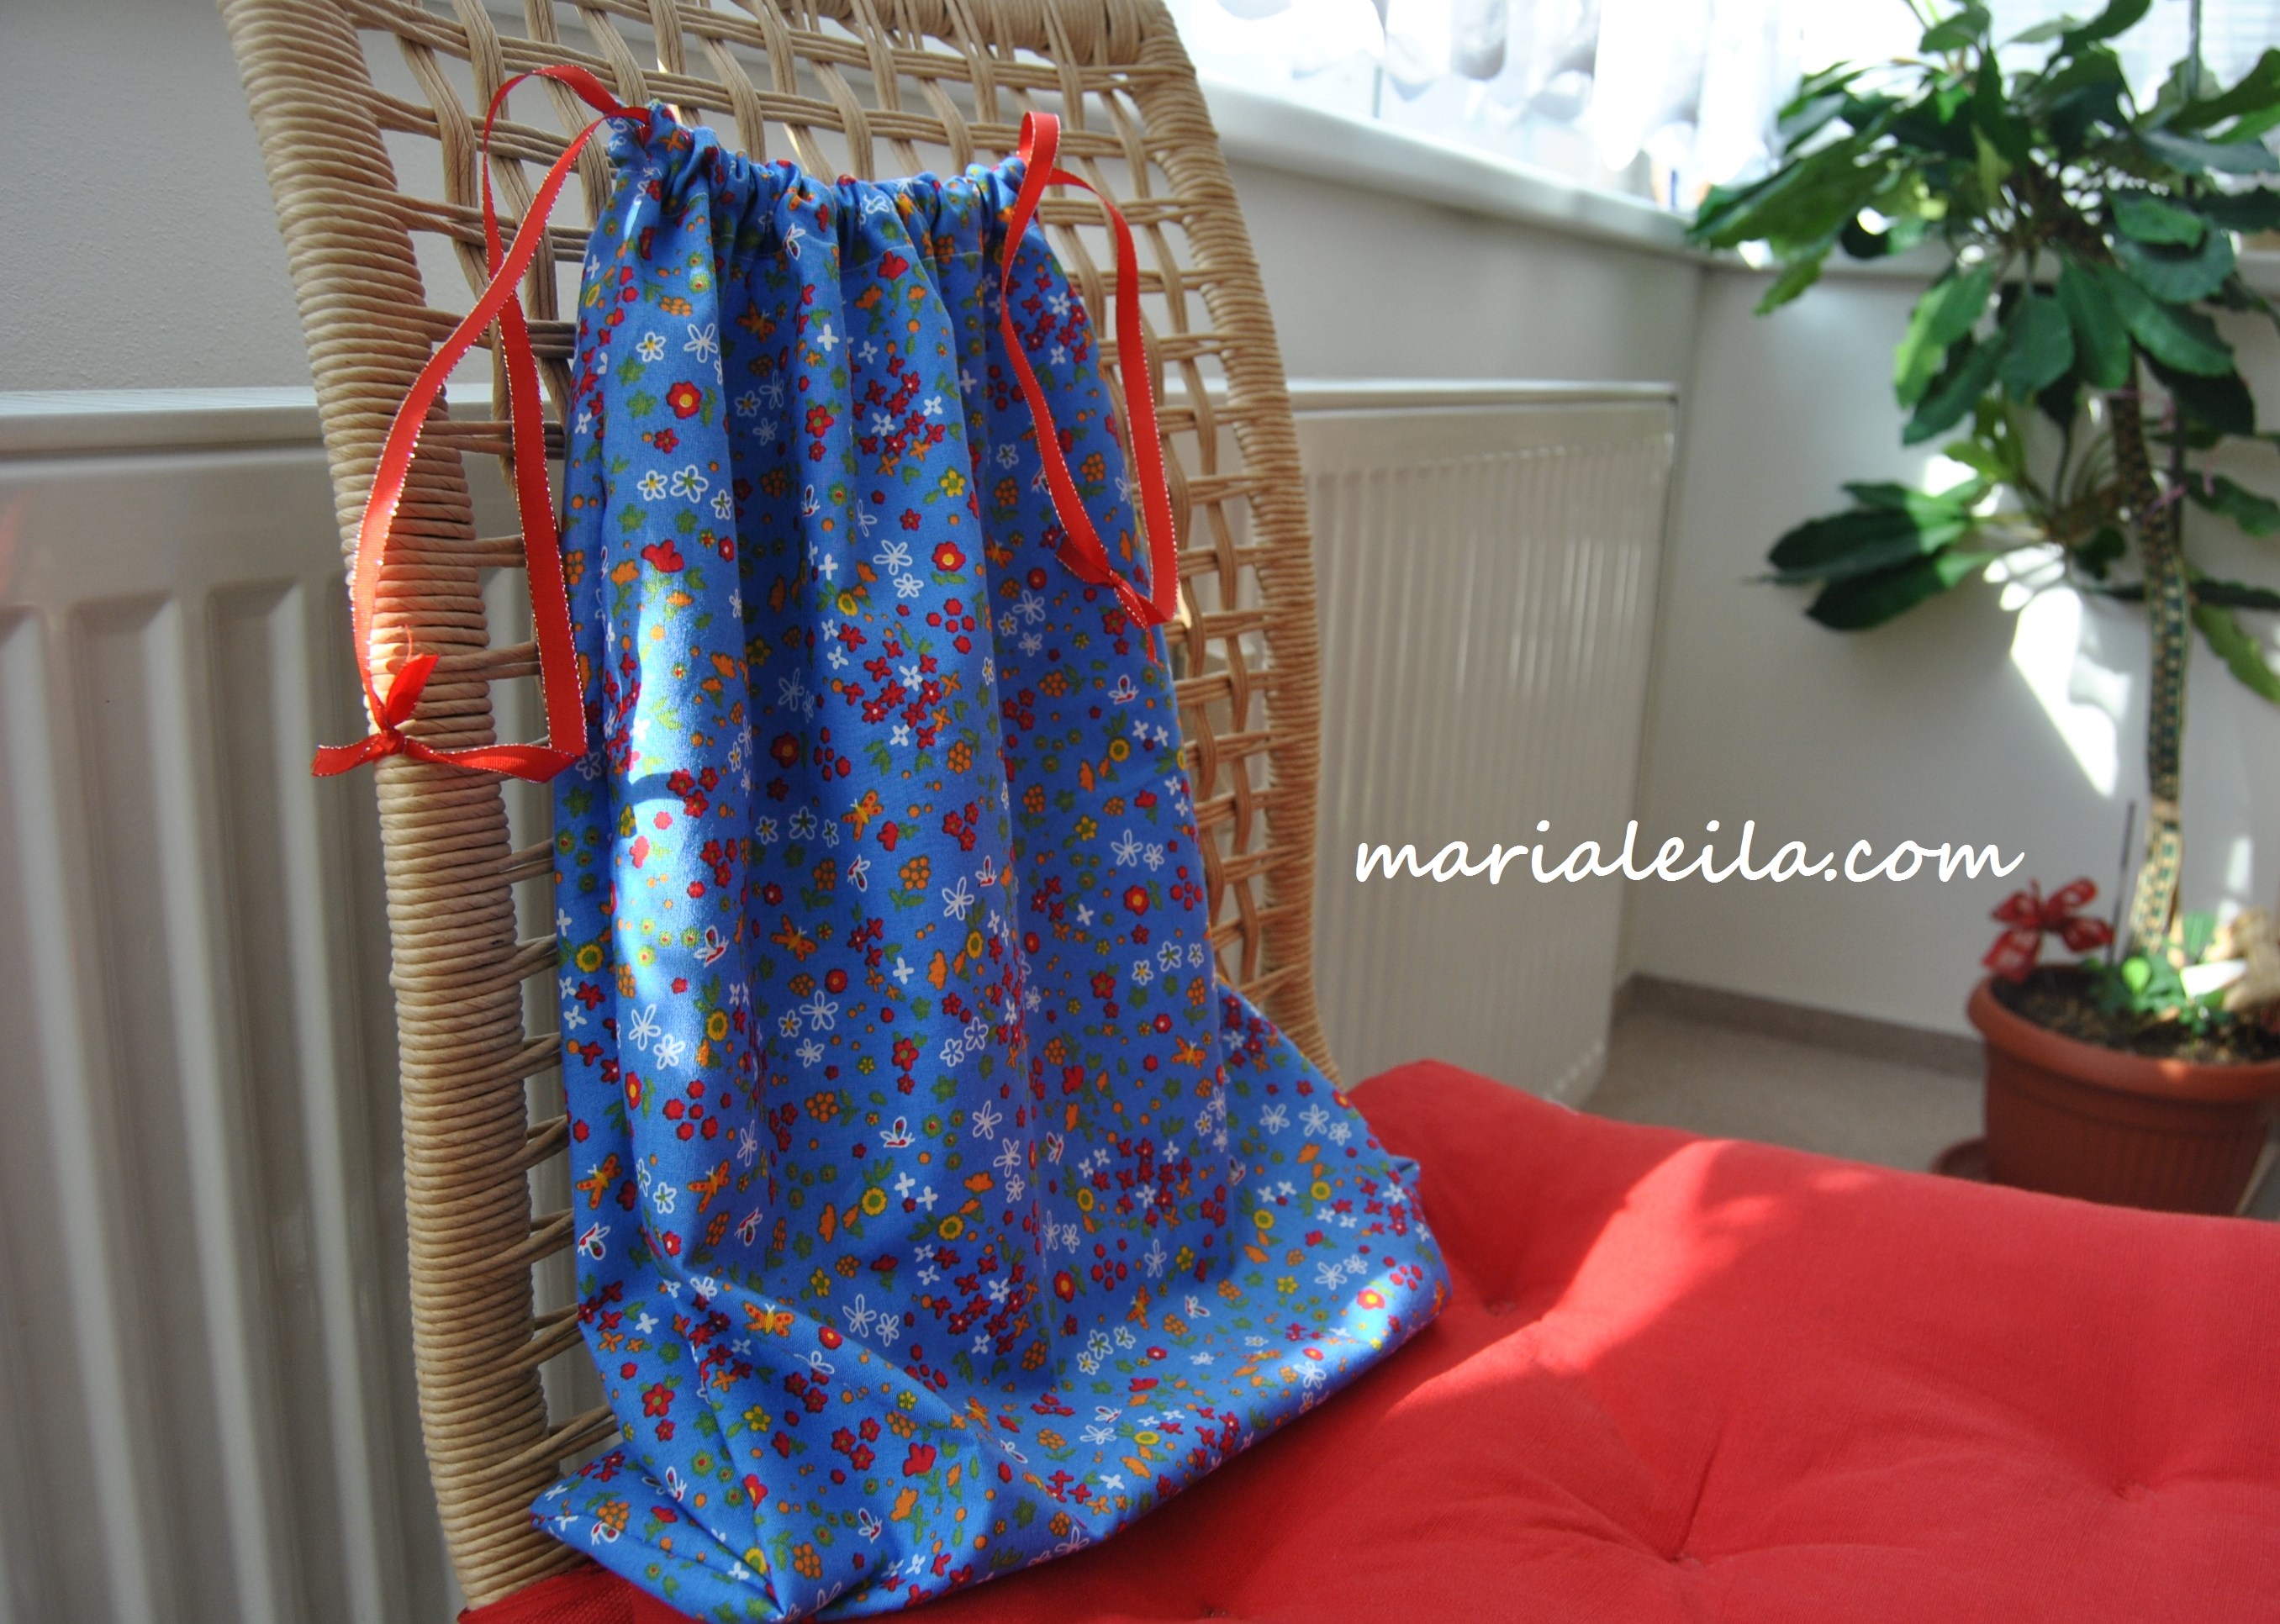
There you go – a new bag ready for you to stuff with anything you want! I really loved the feeling when I turned the bag over to see it on its blazing glory. So pretty! I’m thinking of sewing another one soon again. Maybe this weekend?

Haha, i know this one is easy BUT……i hate sewing since high school. Hahahaha
i’m the opposite, dawn. i’m getting hooked. it’s almost like an obsession hehe