
Latky Mraz had a huge sale in their Vinohrady outlet last month. I bought two different cotton fabrics for two meters each and another two meters of jersey knit real cheap. I wanted to try making a summer dress for myself but the problem was I didn’t really know how.
As if sensing someone was in dilemma, the lady behind the counter told the one before me they can cut her fabric with minimal charge. All she had to do was look at Burda magazine, choose a pattern and size and they will do the cutting for her. The lady customer said no thanks, she’ll do it herself. The grandmas behind me mumbled to each other it’s like cheating to have your fabric ready for sewing. I couldn’t agree more. Maybe someday when I’m already a pro at sewing and doesn’t have to prove to myself I can do it, I’ll probably do the cheating. But for now, I’ll do the basics on my own even if it means nosebleed, migraine, catatonia and all.
So yeah I was catatonic for hours the other day just staring at my fabric, summoning all the powers in the universe to help me figure out what to do first. Finally, the universe listened and a dress was made:

Materials needed:
- 2 meters of cotton fabric ( 1.5 m is enough if you’re petite like me)
- 1 meter of 1 cm wide elastic
- a favorite dress for pattern
- sewing essentials
DIY Tutorial:
Note: Jump to step number 4 first before cutting any fabric. There’s an easier option waiting for you there. 🙂
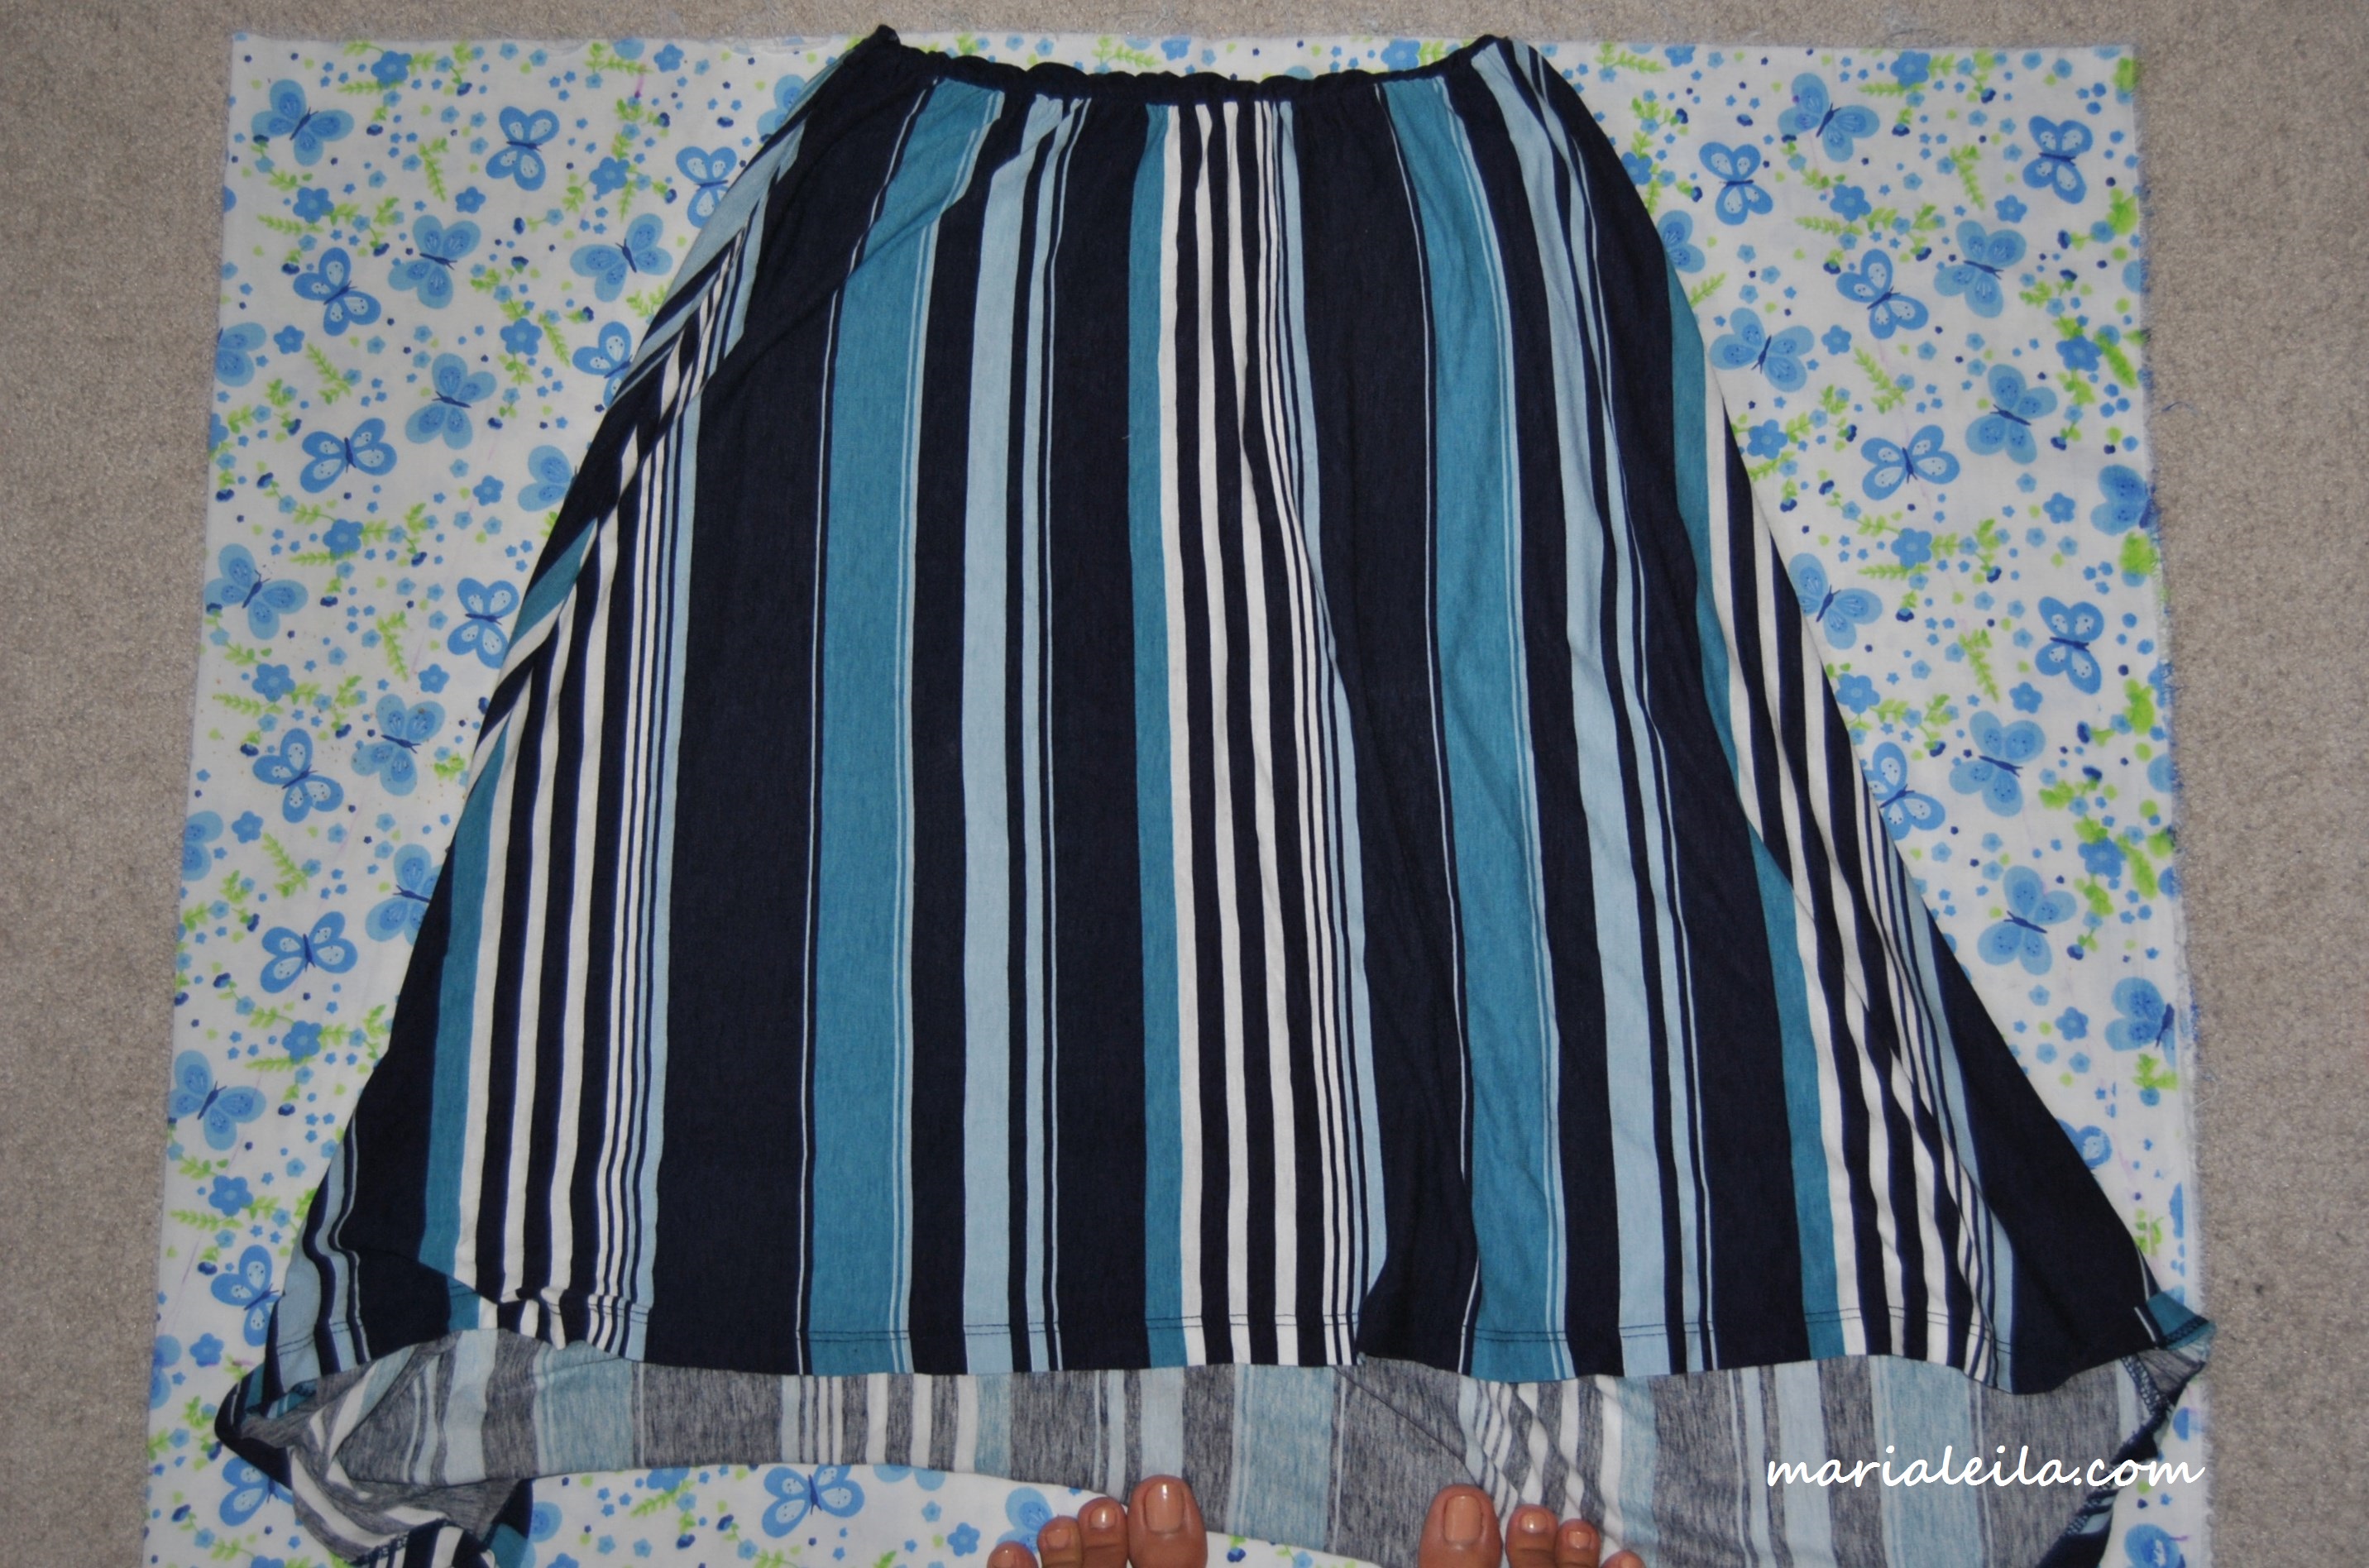
1. For beginners like me, I think it’s best to choose a simple dress for a pattern. Choose one without zippers, buttons or snaps. I picked the one I wore in Bruges because it’s so comfortable and the style doesn’t look threatening at all.

There are two ways to trace the top as shown on the photos above. I found it easier to do it with the top spread open. Just remember to stretch it as you trace and add at least 2 cm seam allowance. Cut the pattern. Of course you can also draw it directly on the fabric.
2. Trace the pattern on the fabric and cut. The front must be on the right side and the back on the wrong side as shown on the photos below:

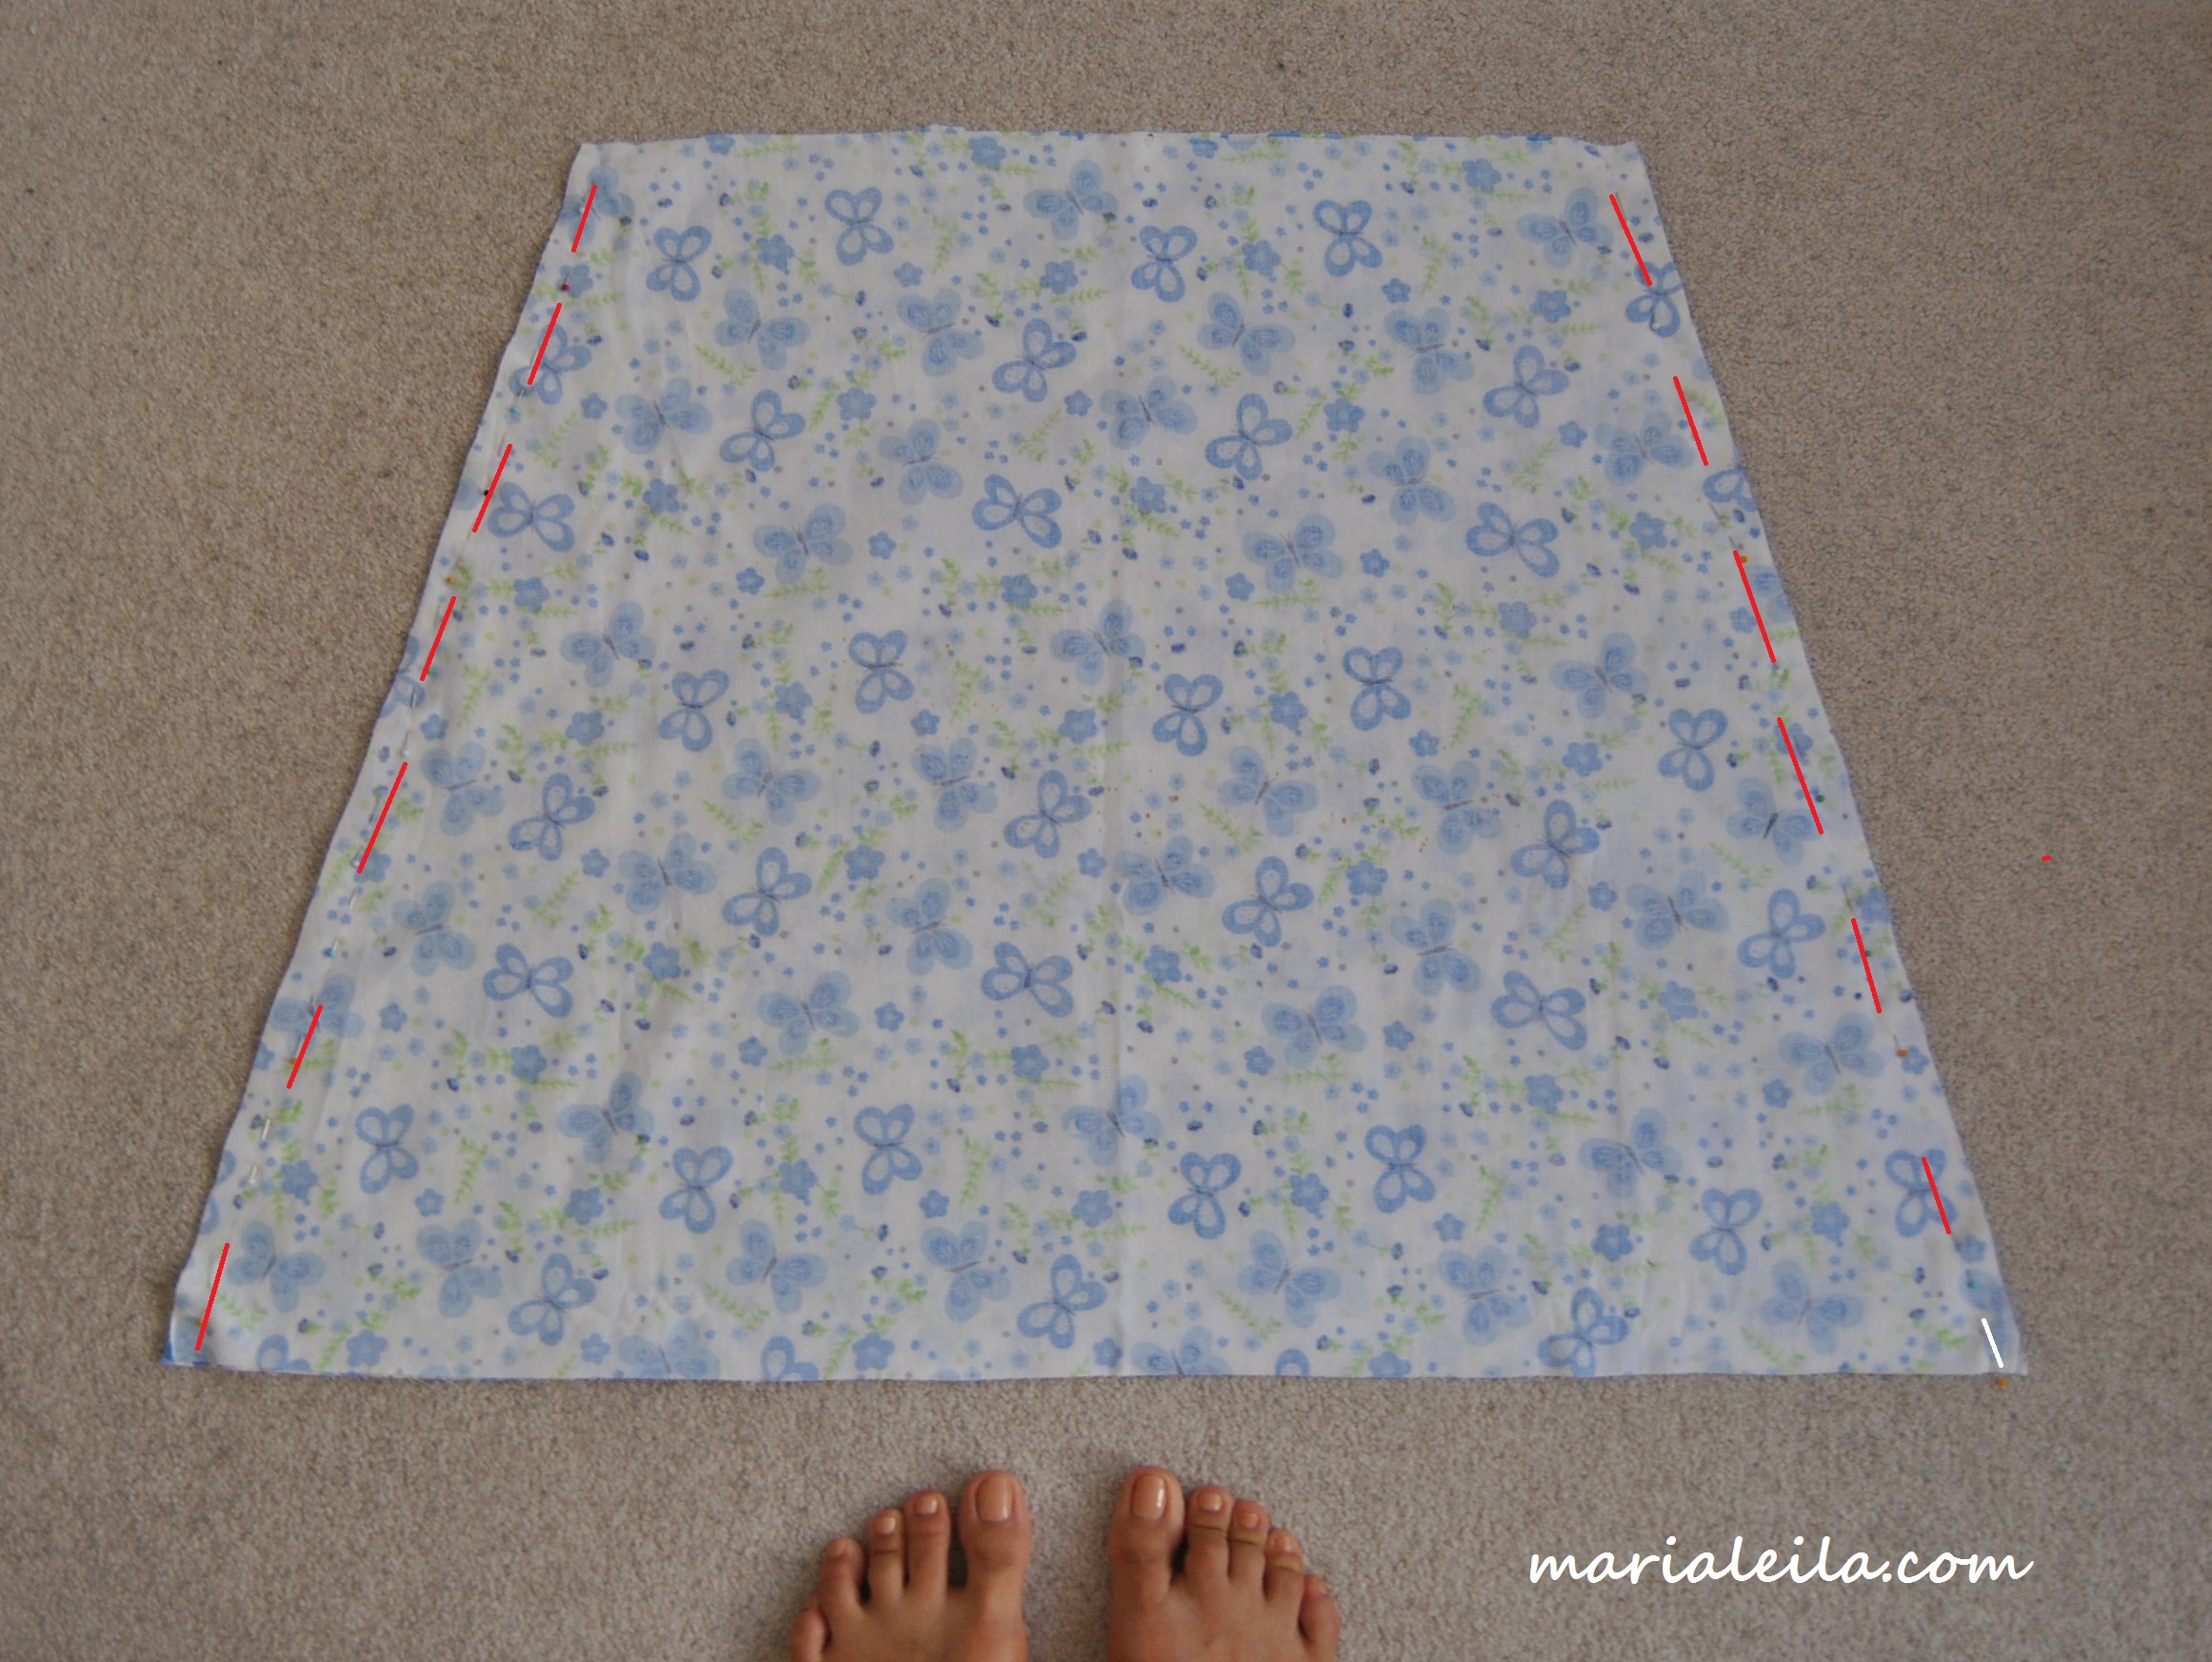
3. For the skirt, decide how long or short you want it to be. Don’t forget to add at least 2 cm seam allowance on each side and 4 cm for the hem.
Stretch the elastic of your dress pattern to measure the waistline adding seam and hem allowances. Just draw straight on two pieces of the fabric with wrong sides touching. Cut through the second piece.
You now have these pieces to assemble:
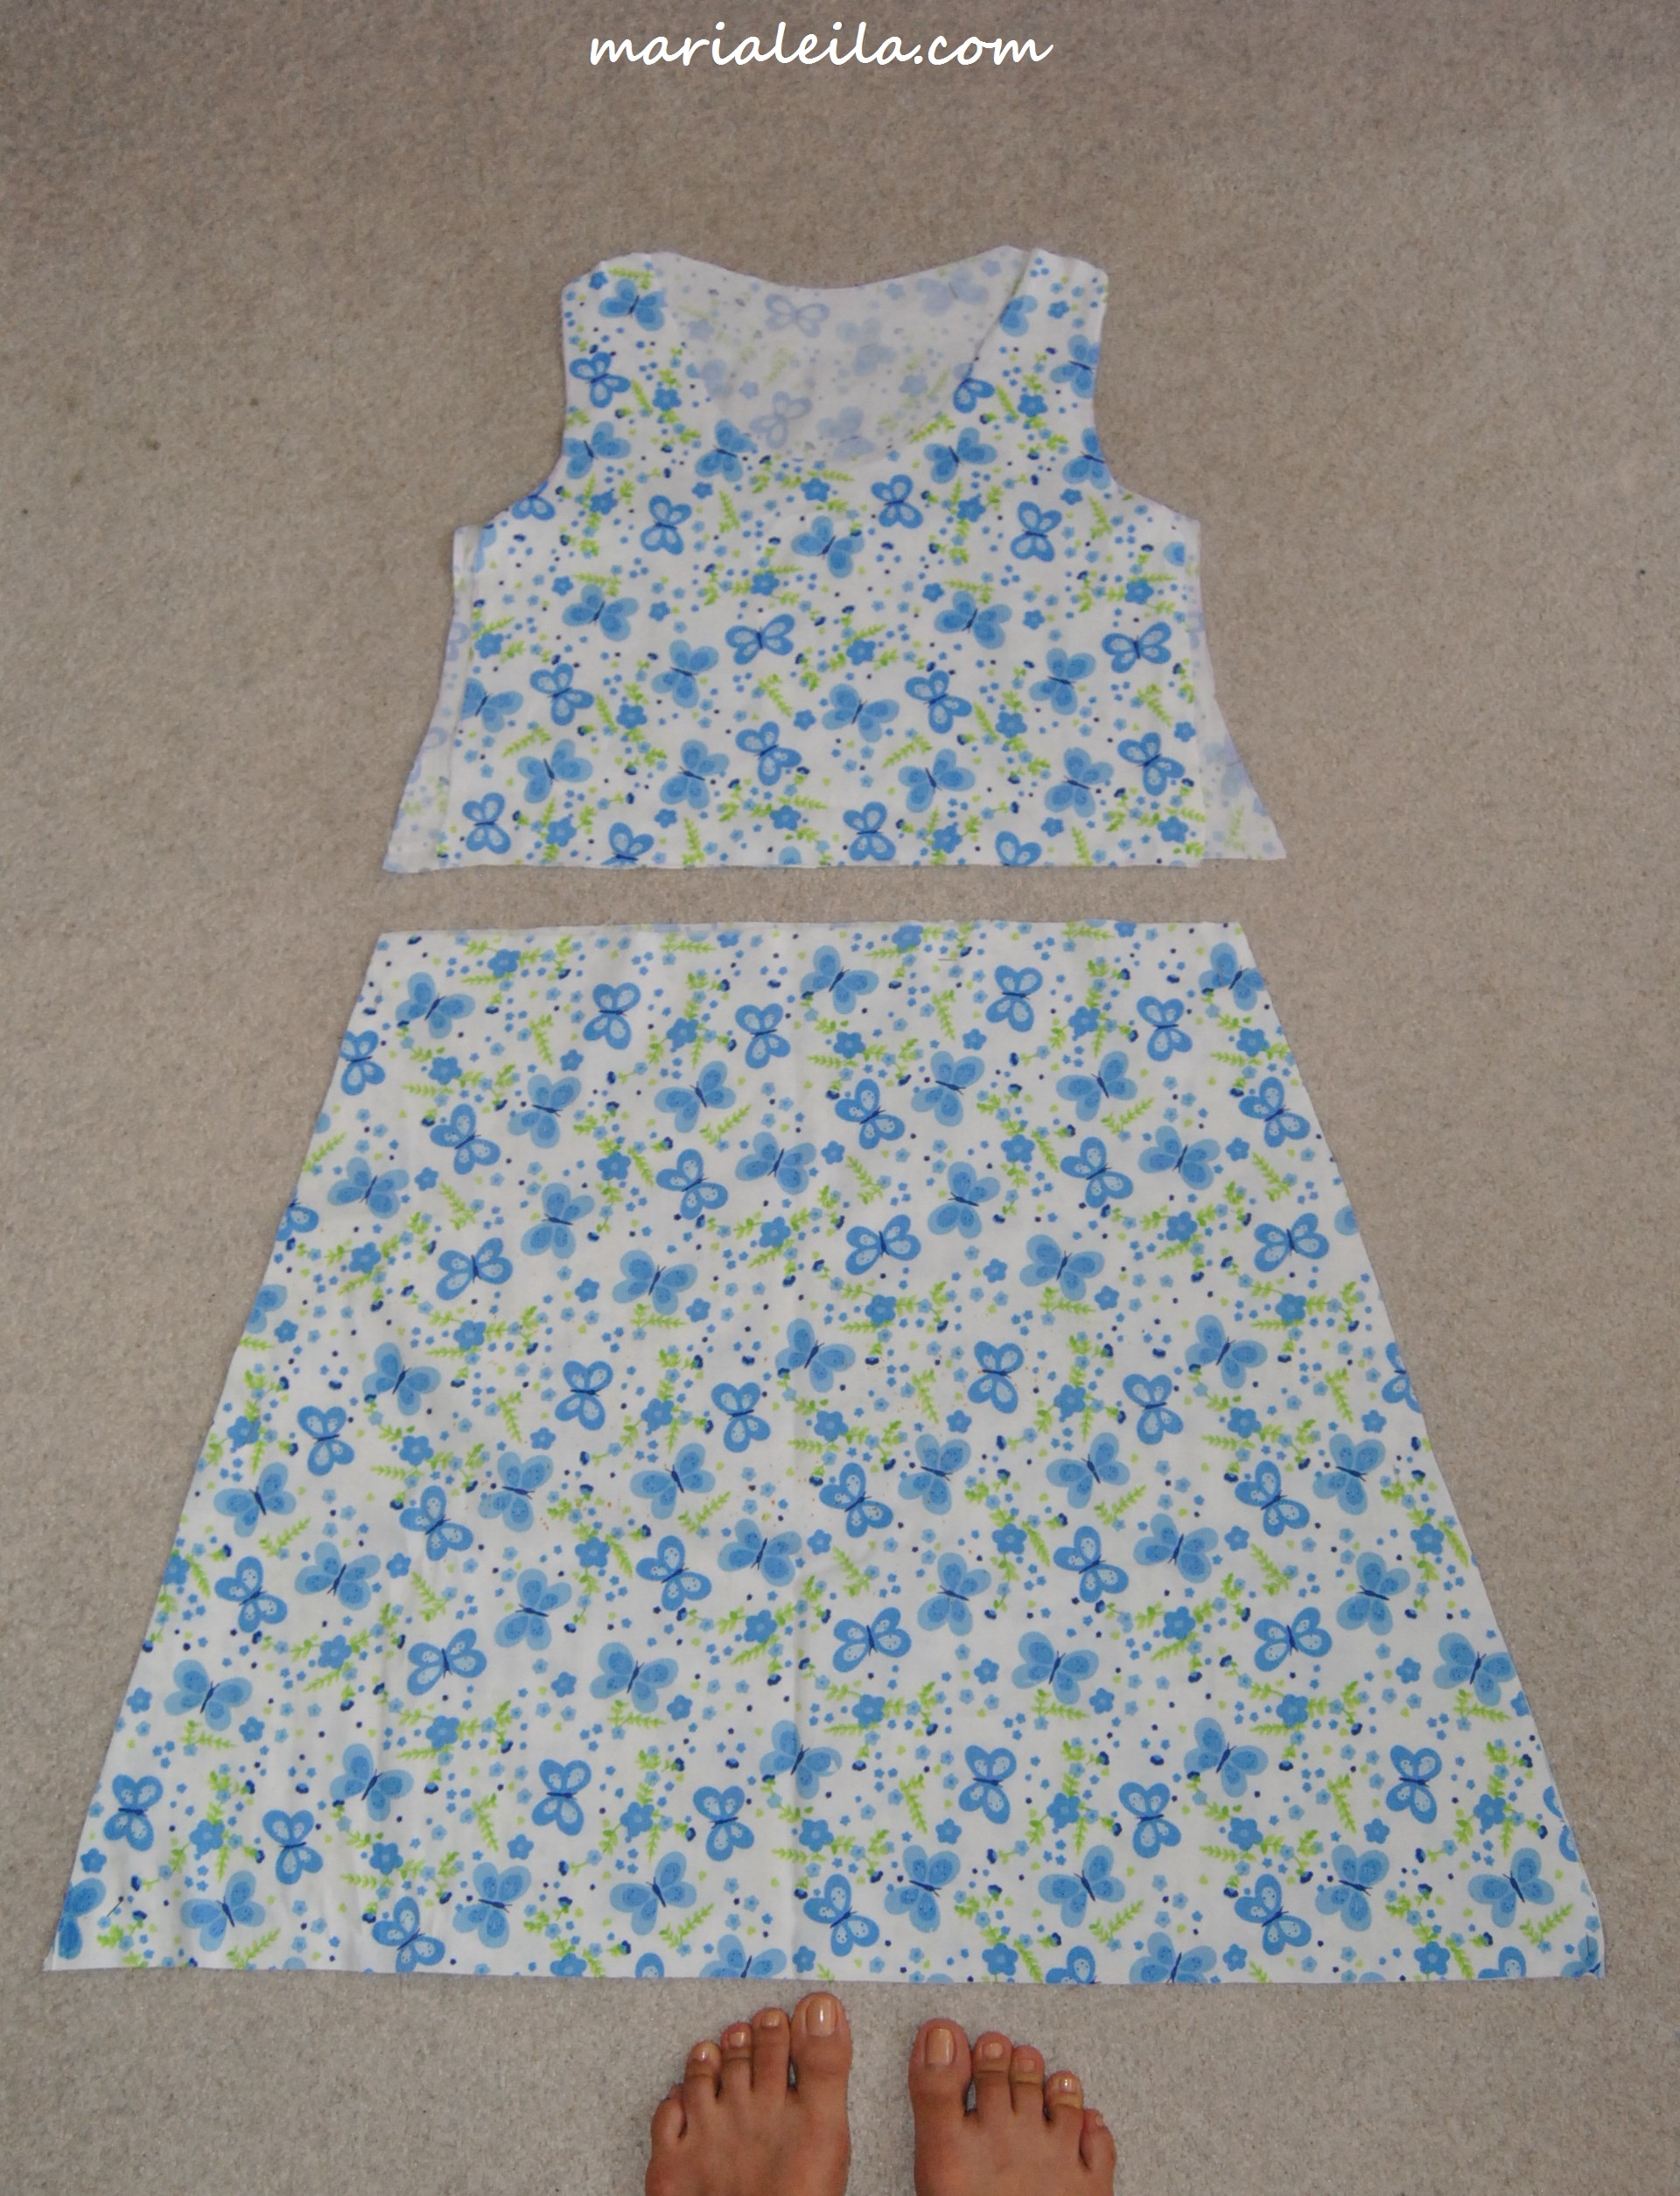
This is when I realized I could have cut it straight from the top to bottom. It would have been easier to make a one-piece dress and just run an elastic around the waistline. *Sigh* Shoulda, woulda, coulda are the last words of a beginner sewer.
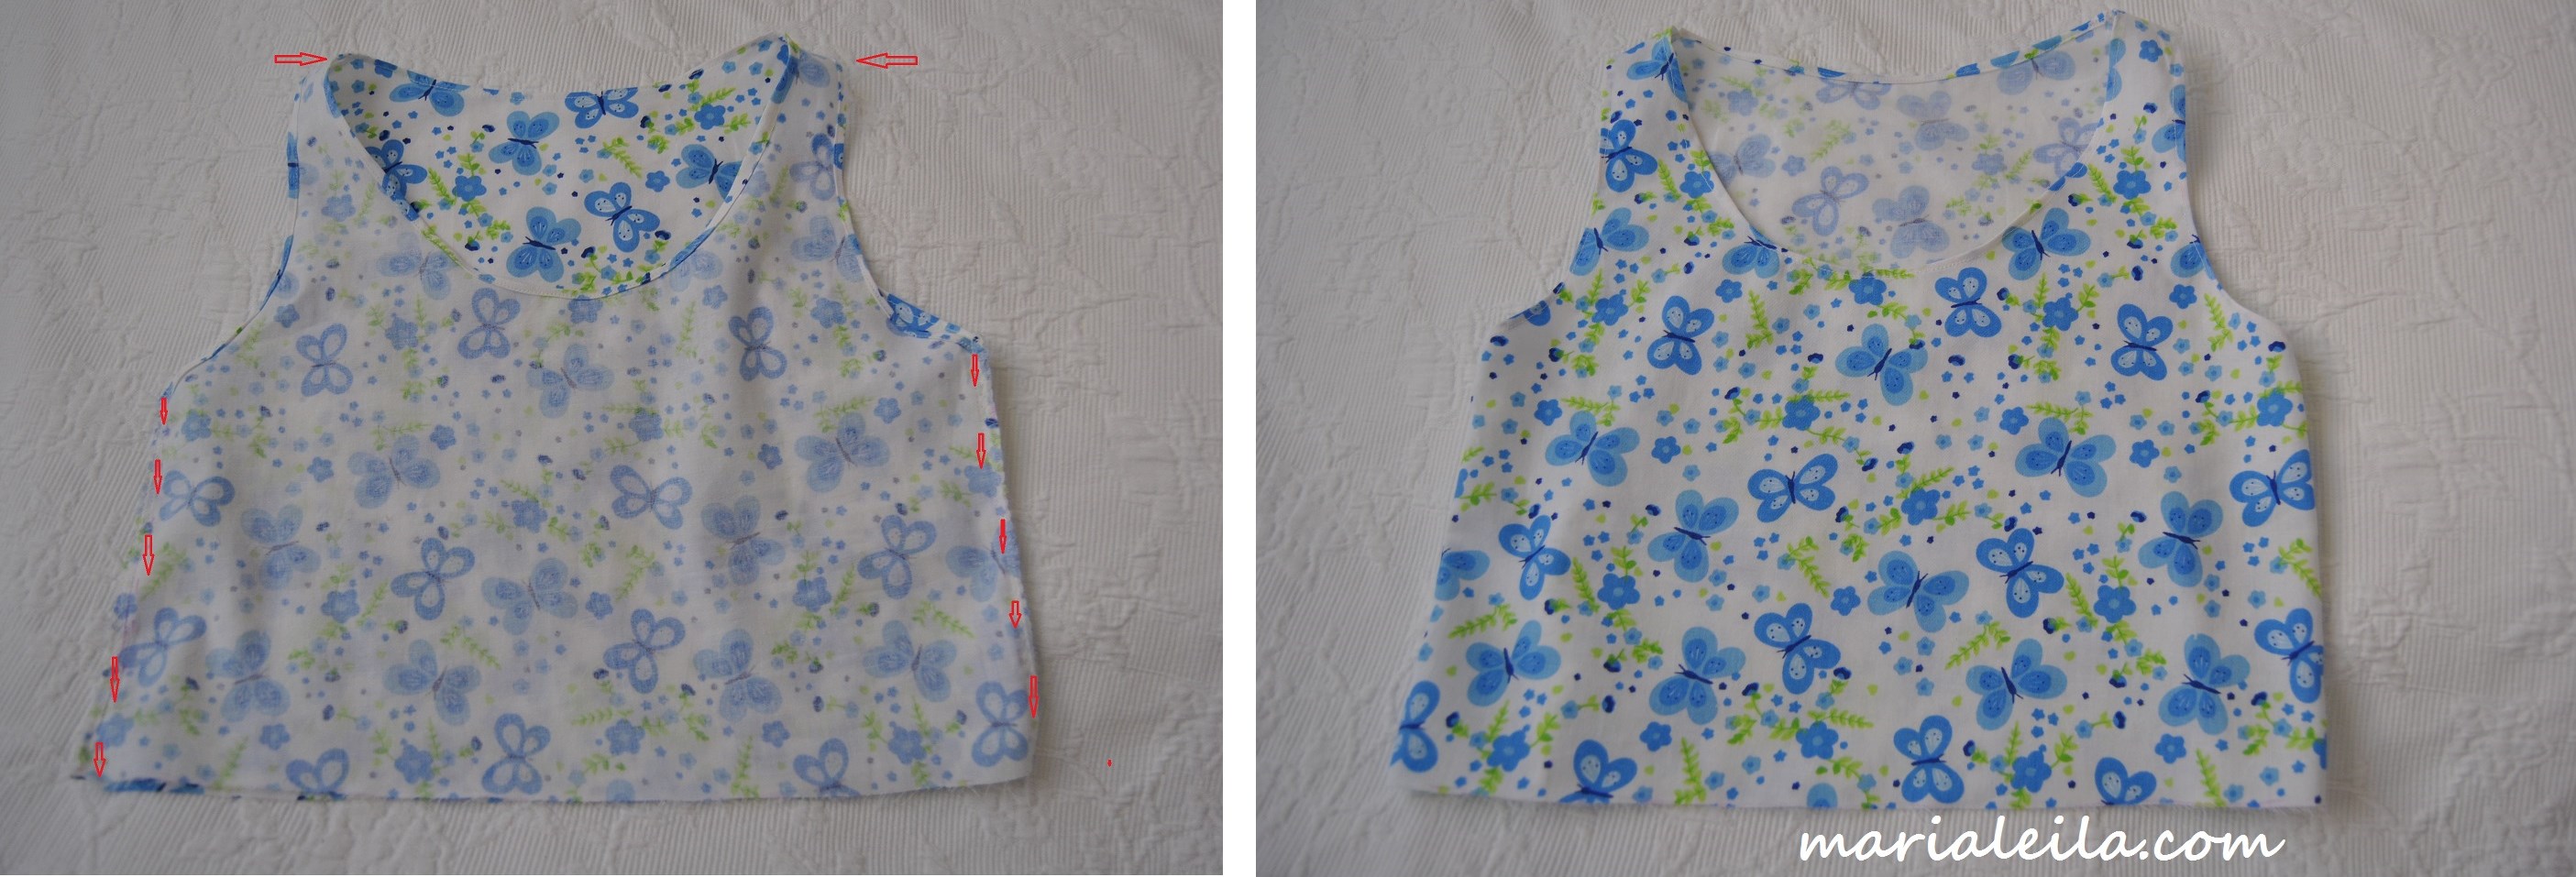
5. Time to stitch the seams of your top. With seams in place with the help of pins, run a straight stitch close on the edge of the fold so it won’t flap. Remember to always back-stitch at the beginning and ending of each seam. Iron seams flat after sewing.
6. Next step is to attach the top’s seams together. Run a straight stitch as indicated on the left photo below. If you don’t have a serger like me, just do tricot stitch on the edges to prevent them from fraying. Turn top right sides out. Breathe, we’re almost there. 🙂
7. Now it’s the skirt’s turn to be sewn. With the right sides touching, run a straight stitch on each side. Do a tricot stitch as well on the edges so they wont fray.
8. This next step isn’t really necessary but I’m very meticulous with details. I wanted the waistline to have zero chance of fraying so I created half a centimeter seam and stitched it around close to the edges.
 9. The moment of truth is here – time to measure your waistline with the elastic! It’s up to you if you want it snug or a bit loose. Me? I always go for loose fits because I eat a lot. Don’t forget to add an extra centimeter or two for your seam. Stitch the elastic to form a loop.
With the help of pins, attach the skirt to the elastic dividing it on equal parts. Run a straight stitch on the top edge stretching the elastic as you go.
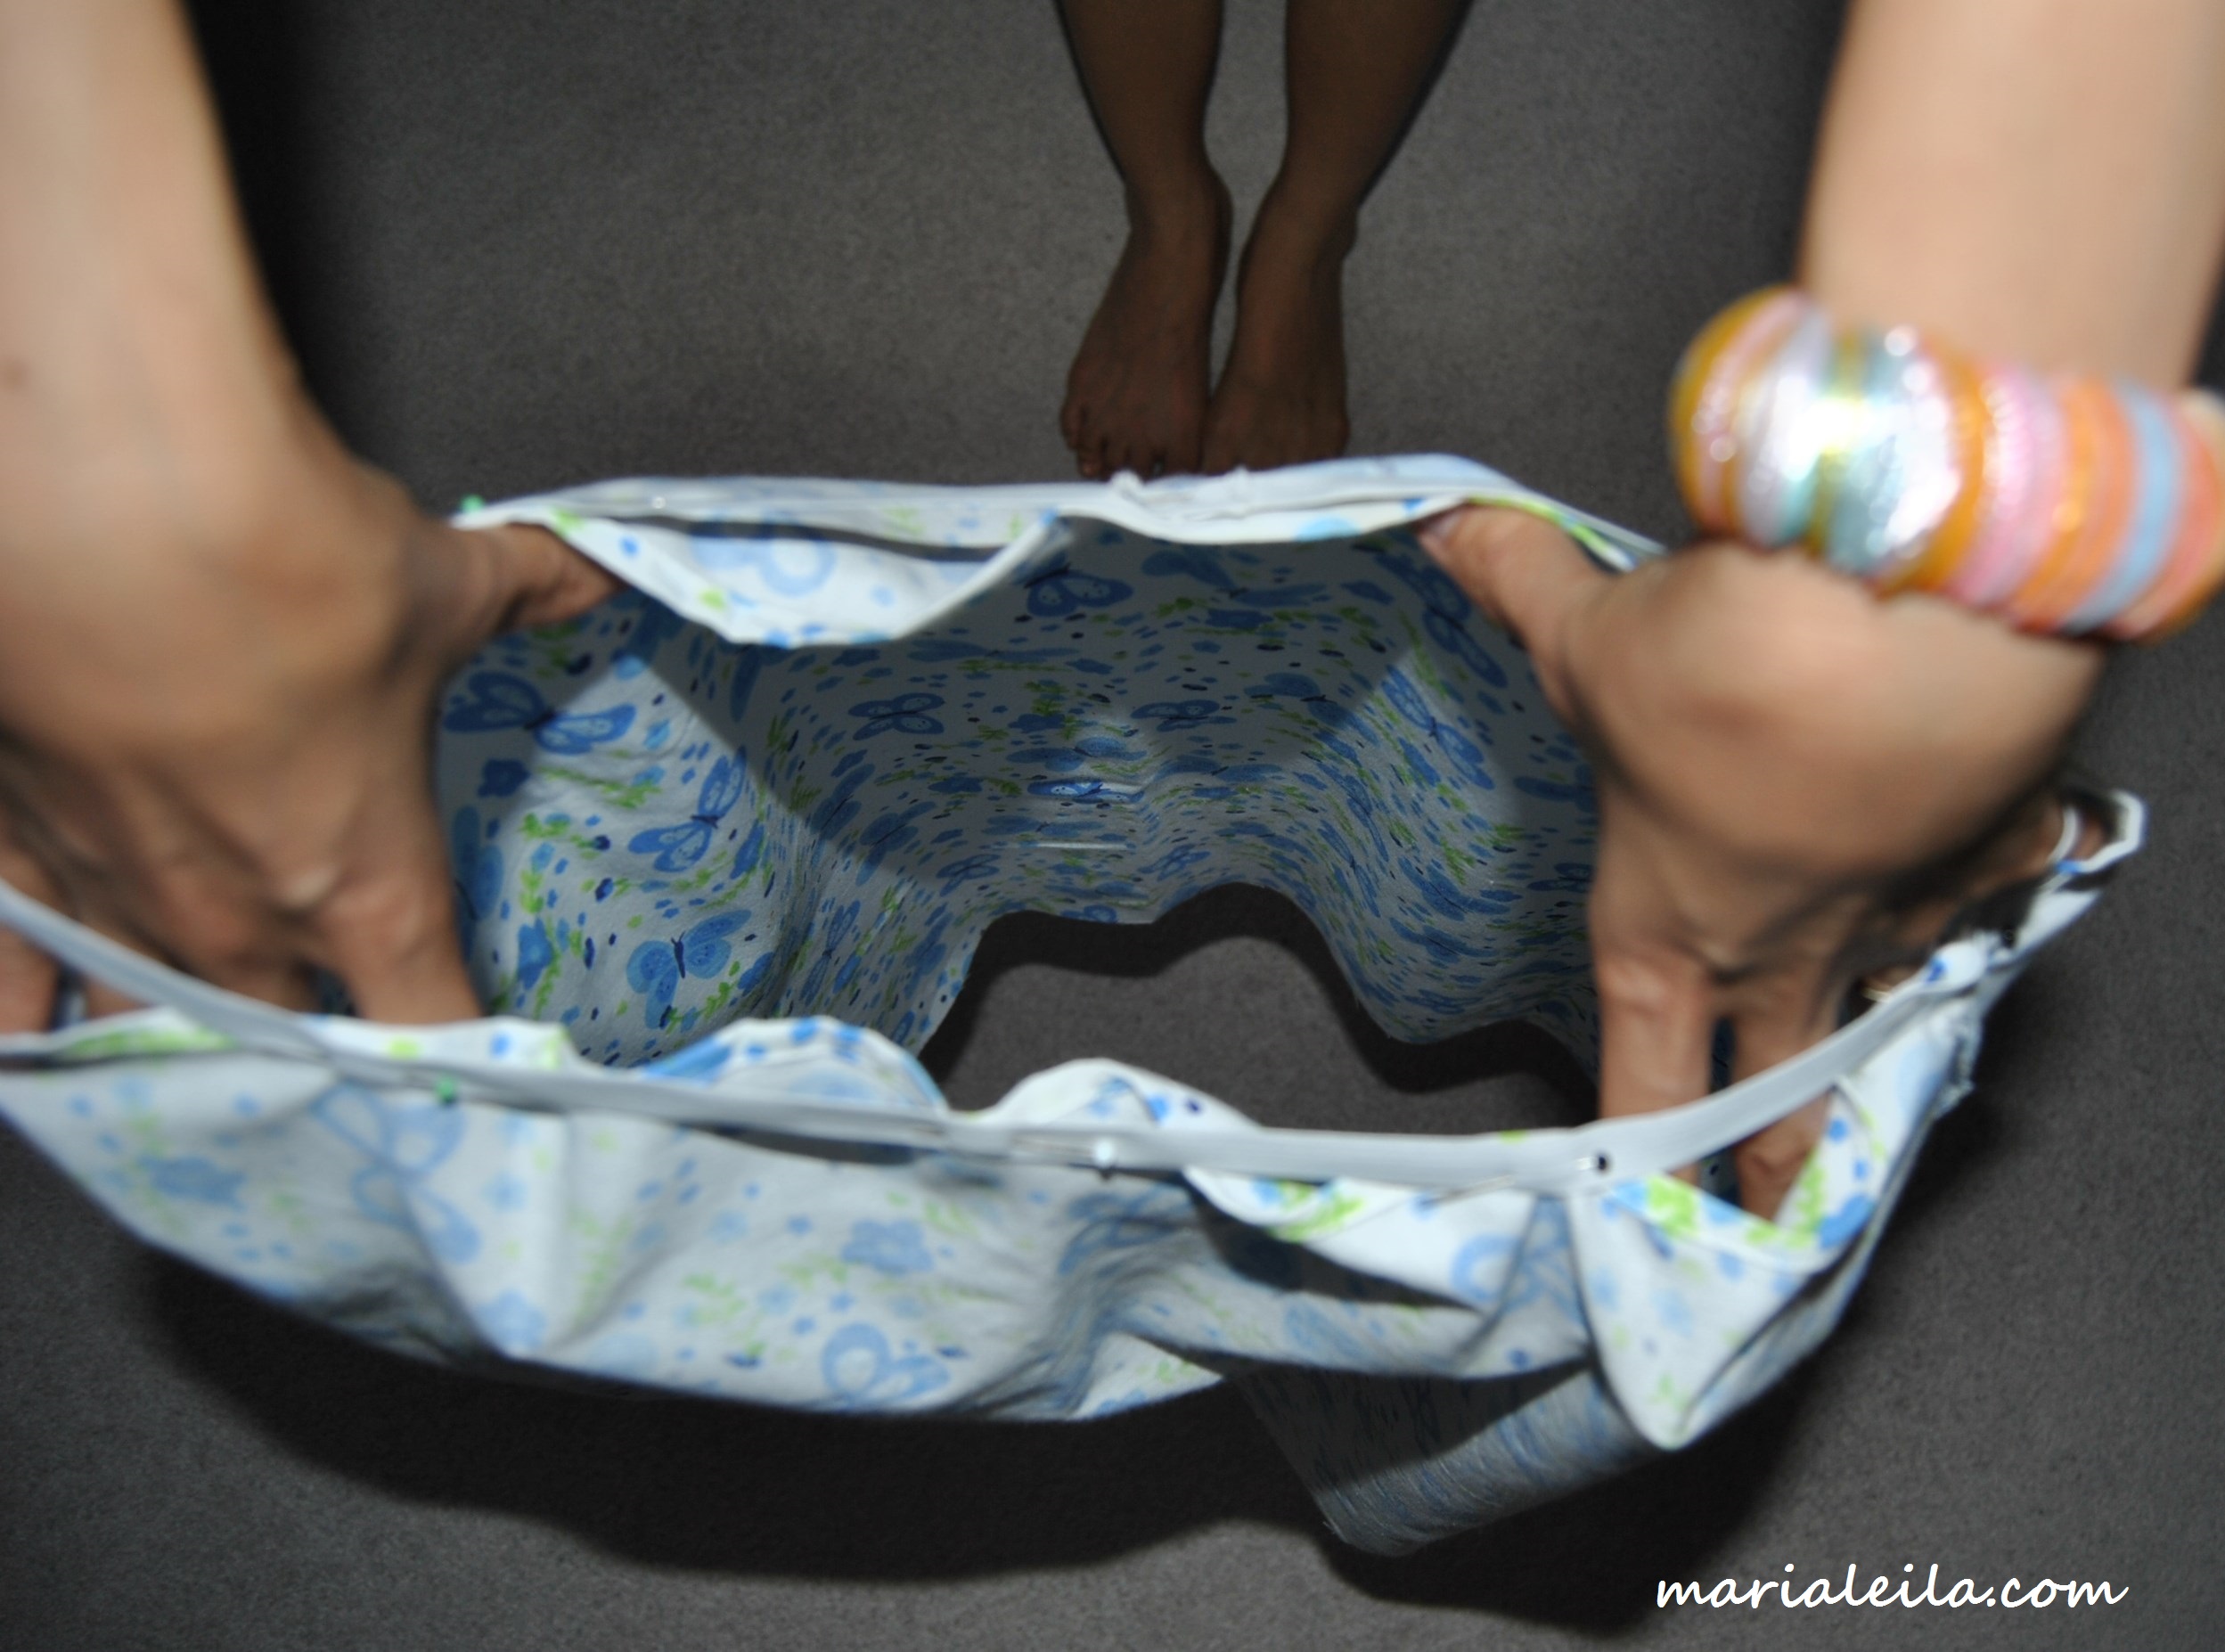
10. This is when I got catatonic again trying to figure out how to attach the skirt to the bodice. The answer wasn’t so hard as I thought.

With both top and skirt inside out, fold a centimeter of the top’s bottom and pin it on the bottom edge of the elastic as shown on the top right photo. Do it around the entire waistline. Straight stitch all the way following the pins. Trim edges and run a tricot stitch all the way around for them not to fray.
*Catching breath.
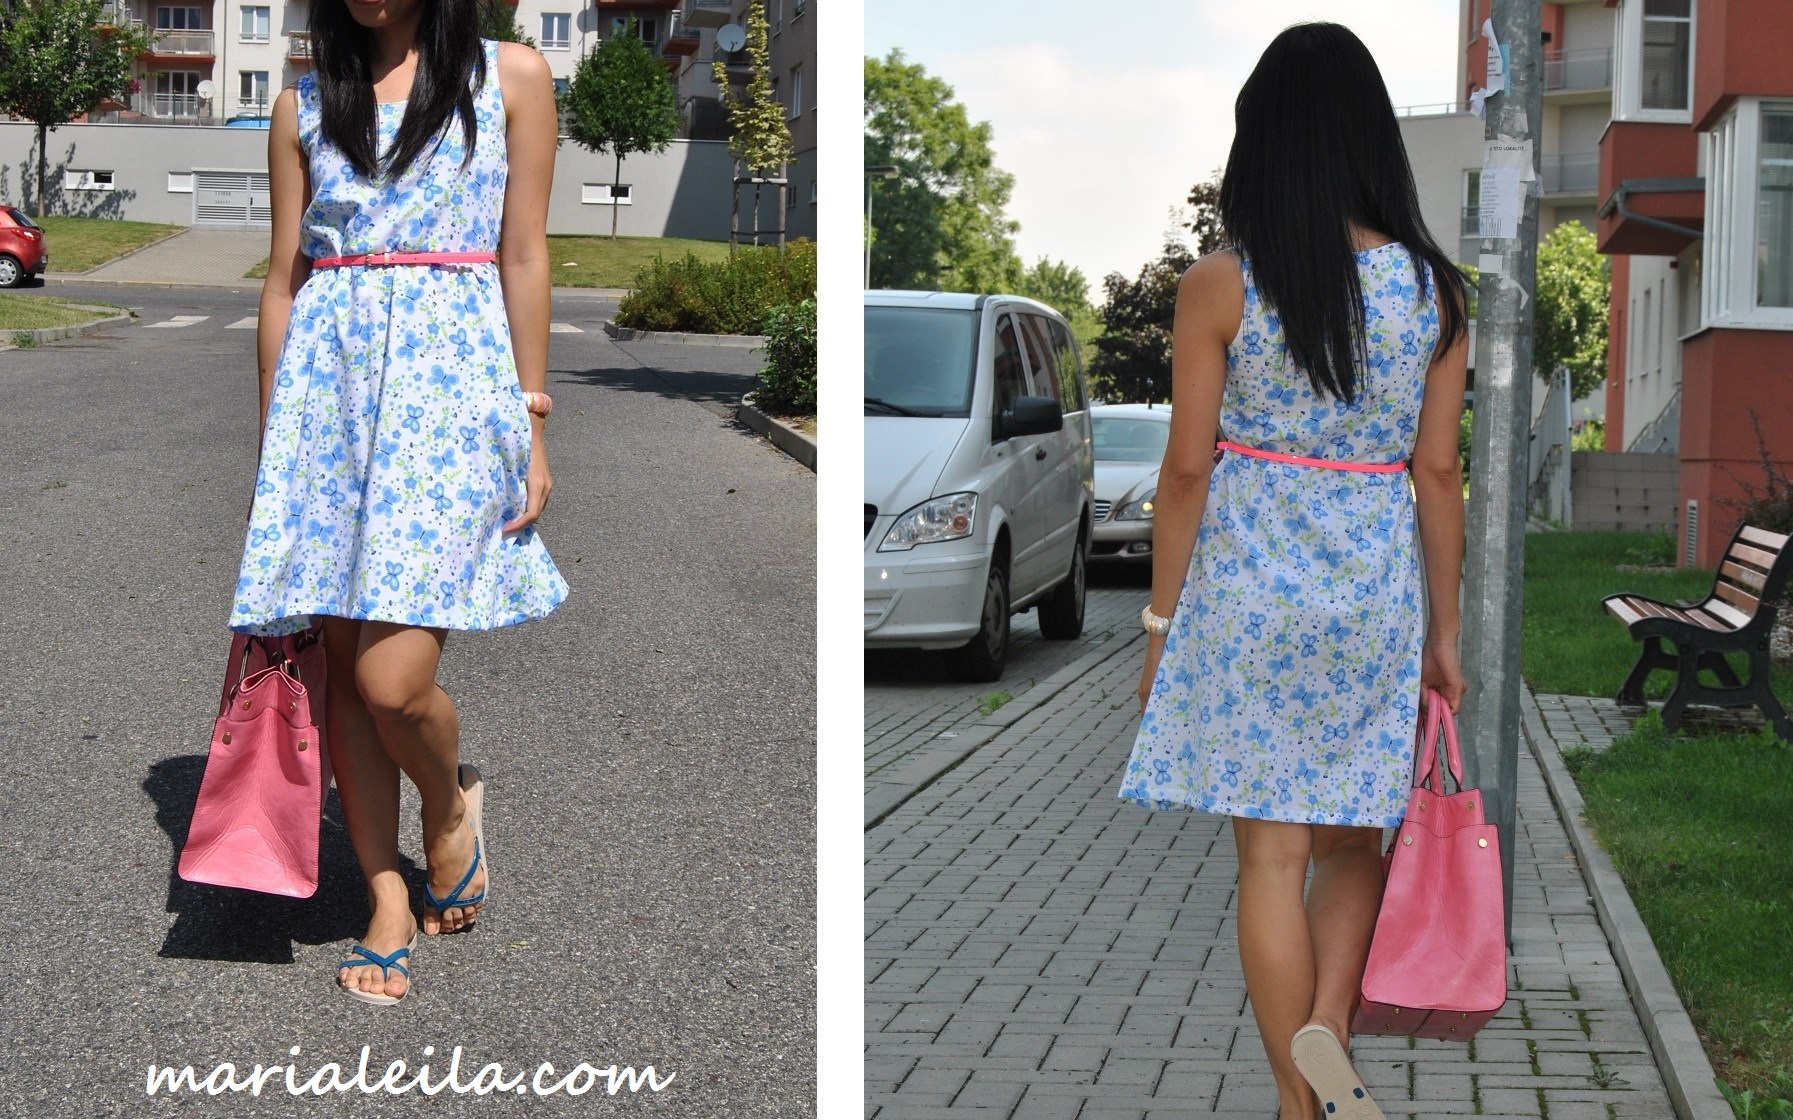
We’re almost done. The last and easiest step is to hem the dress. It doesn’t take a genius to do this part so let’s just skip it in the tutorial and have a look at the finished product:

Slap it with a belt and a matching bag to accessorize and you’re ready to face the heat outside with a very summery dress!
If you find this tutorial helpful and would actually follow it to make a similar dress, I would be thrilled to hear from you. Please leave a message and the link for me to see your beautiful creations down below. Happy stitching!
