
 This is a good sewing project when you have accumulated quite a lot of leftover fabrics. I thought about doing this or placemats but the idea of sewing four pieces of placemats to make a set sounded very exhausting.
I started teaching myself to sew since only a few months ago and this is the first ever project I did without consulting the net for how to’s. This is also the first one that I didn’t mess up with even a tiny stitch so I’m giving myself a pat on the back for a job well done.
What you need:
- pieces of fabric for the patchwork
- backing fabric
- fusible interfacing
- thread
- iron
 First step is to determine the size of your table runner. In my case I had no choice but to base it on this leftover piece already cut to measure 142 x 30 cm which, coincidentally and luckily, is the right size I need. This will be my backing fabric. Btw, don’t you just love the dramatic framing of this photo? The shadows are actually created by my hair falling all over the place when I took this shot.
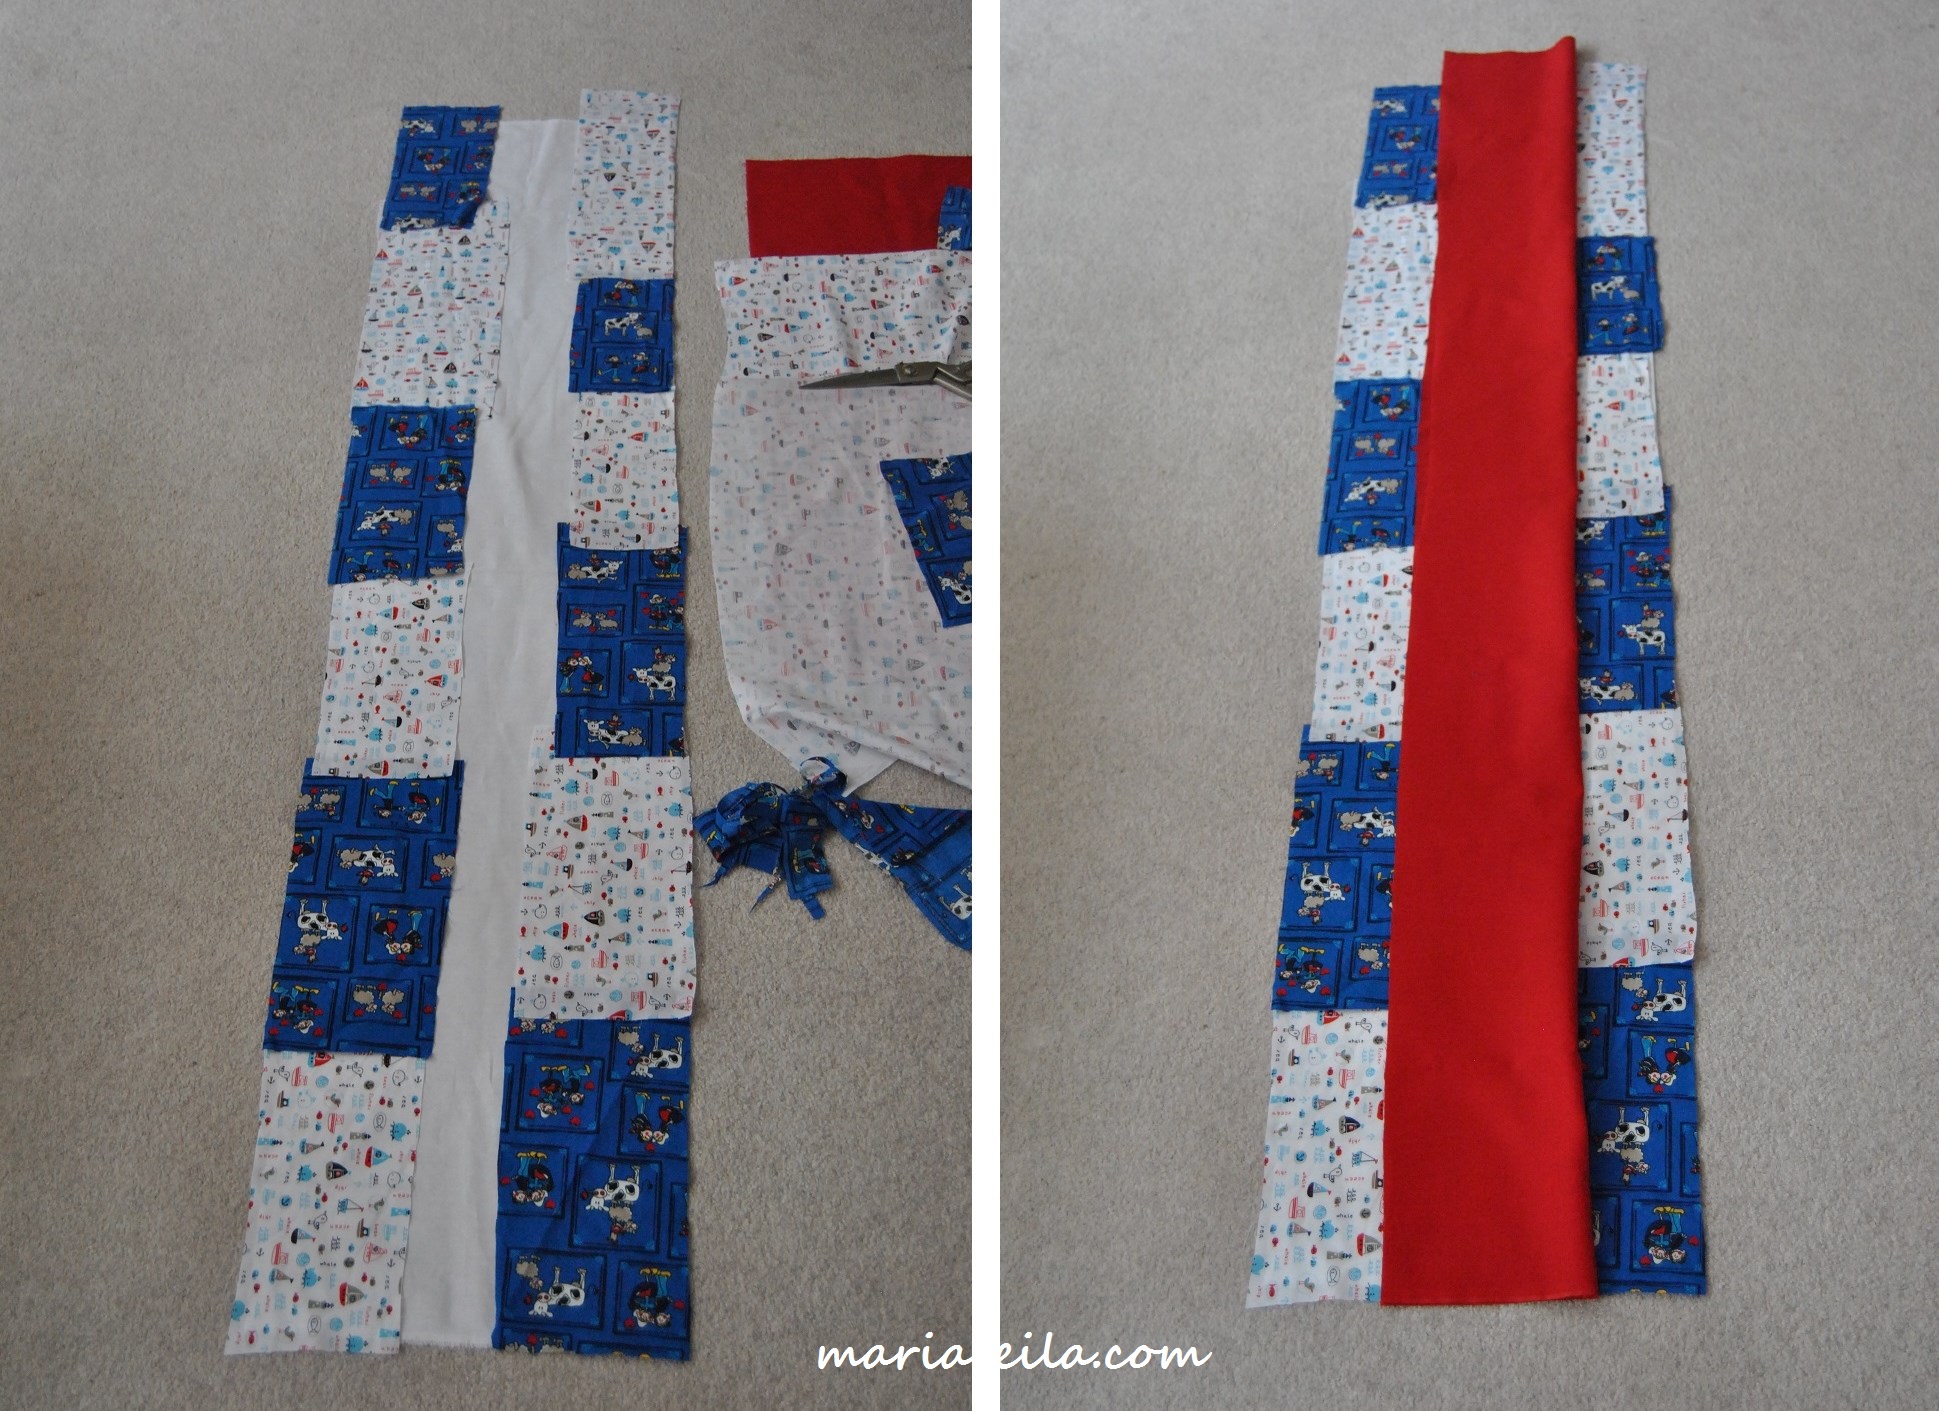 Next, cut rectangular pieces of different fabrics as shown on the photos above and lay them on your backing fabric. This will give you an idea how many pieces you need. I also had a long strip of red fabric available so I decided to put it in the middle to add color and coherence to the entire piece.
 Don’t be confused by the top-left photo. I realized it’s not important to create a hem on the short side of the first fabric.
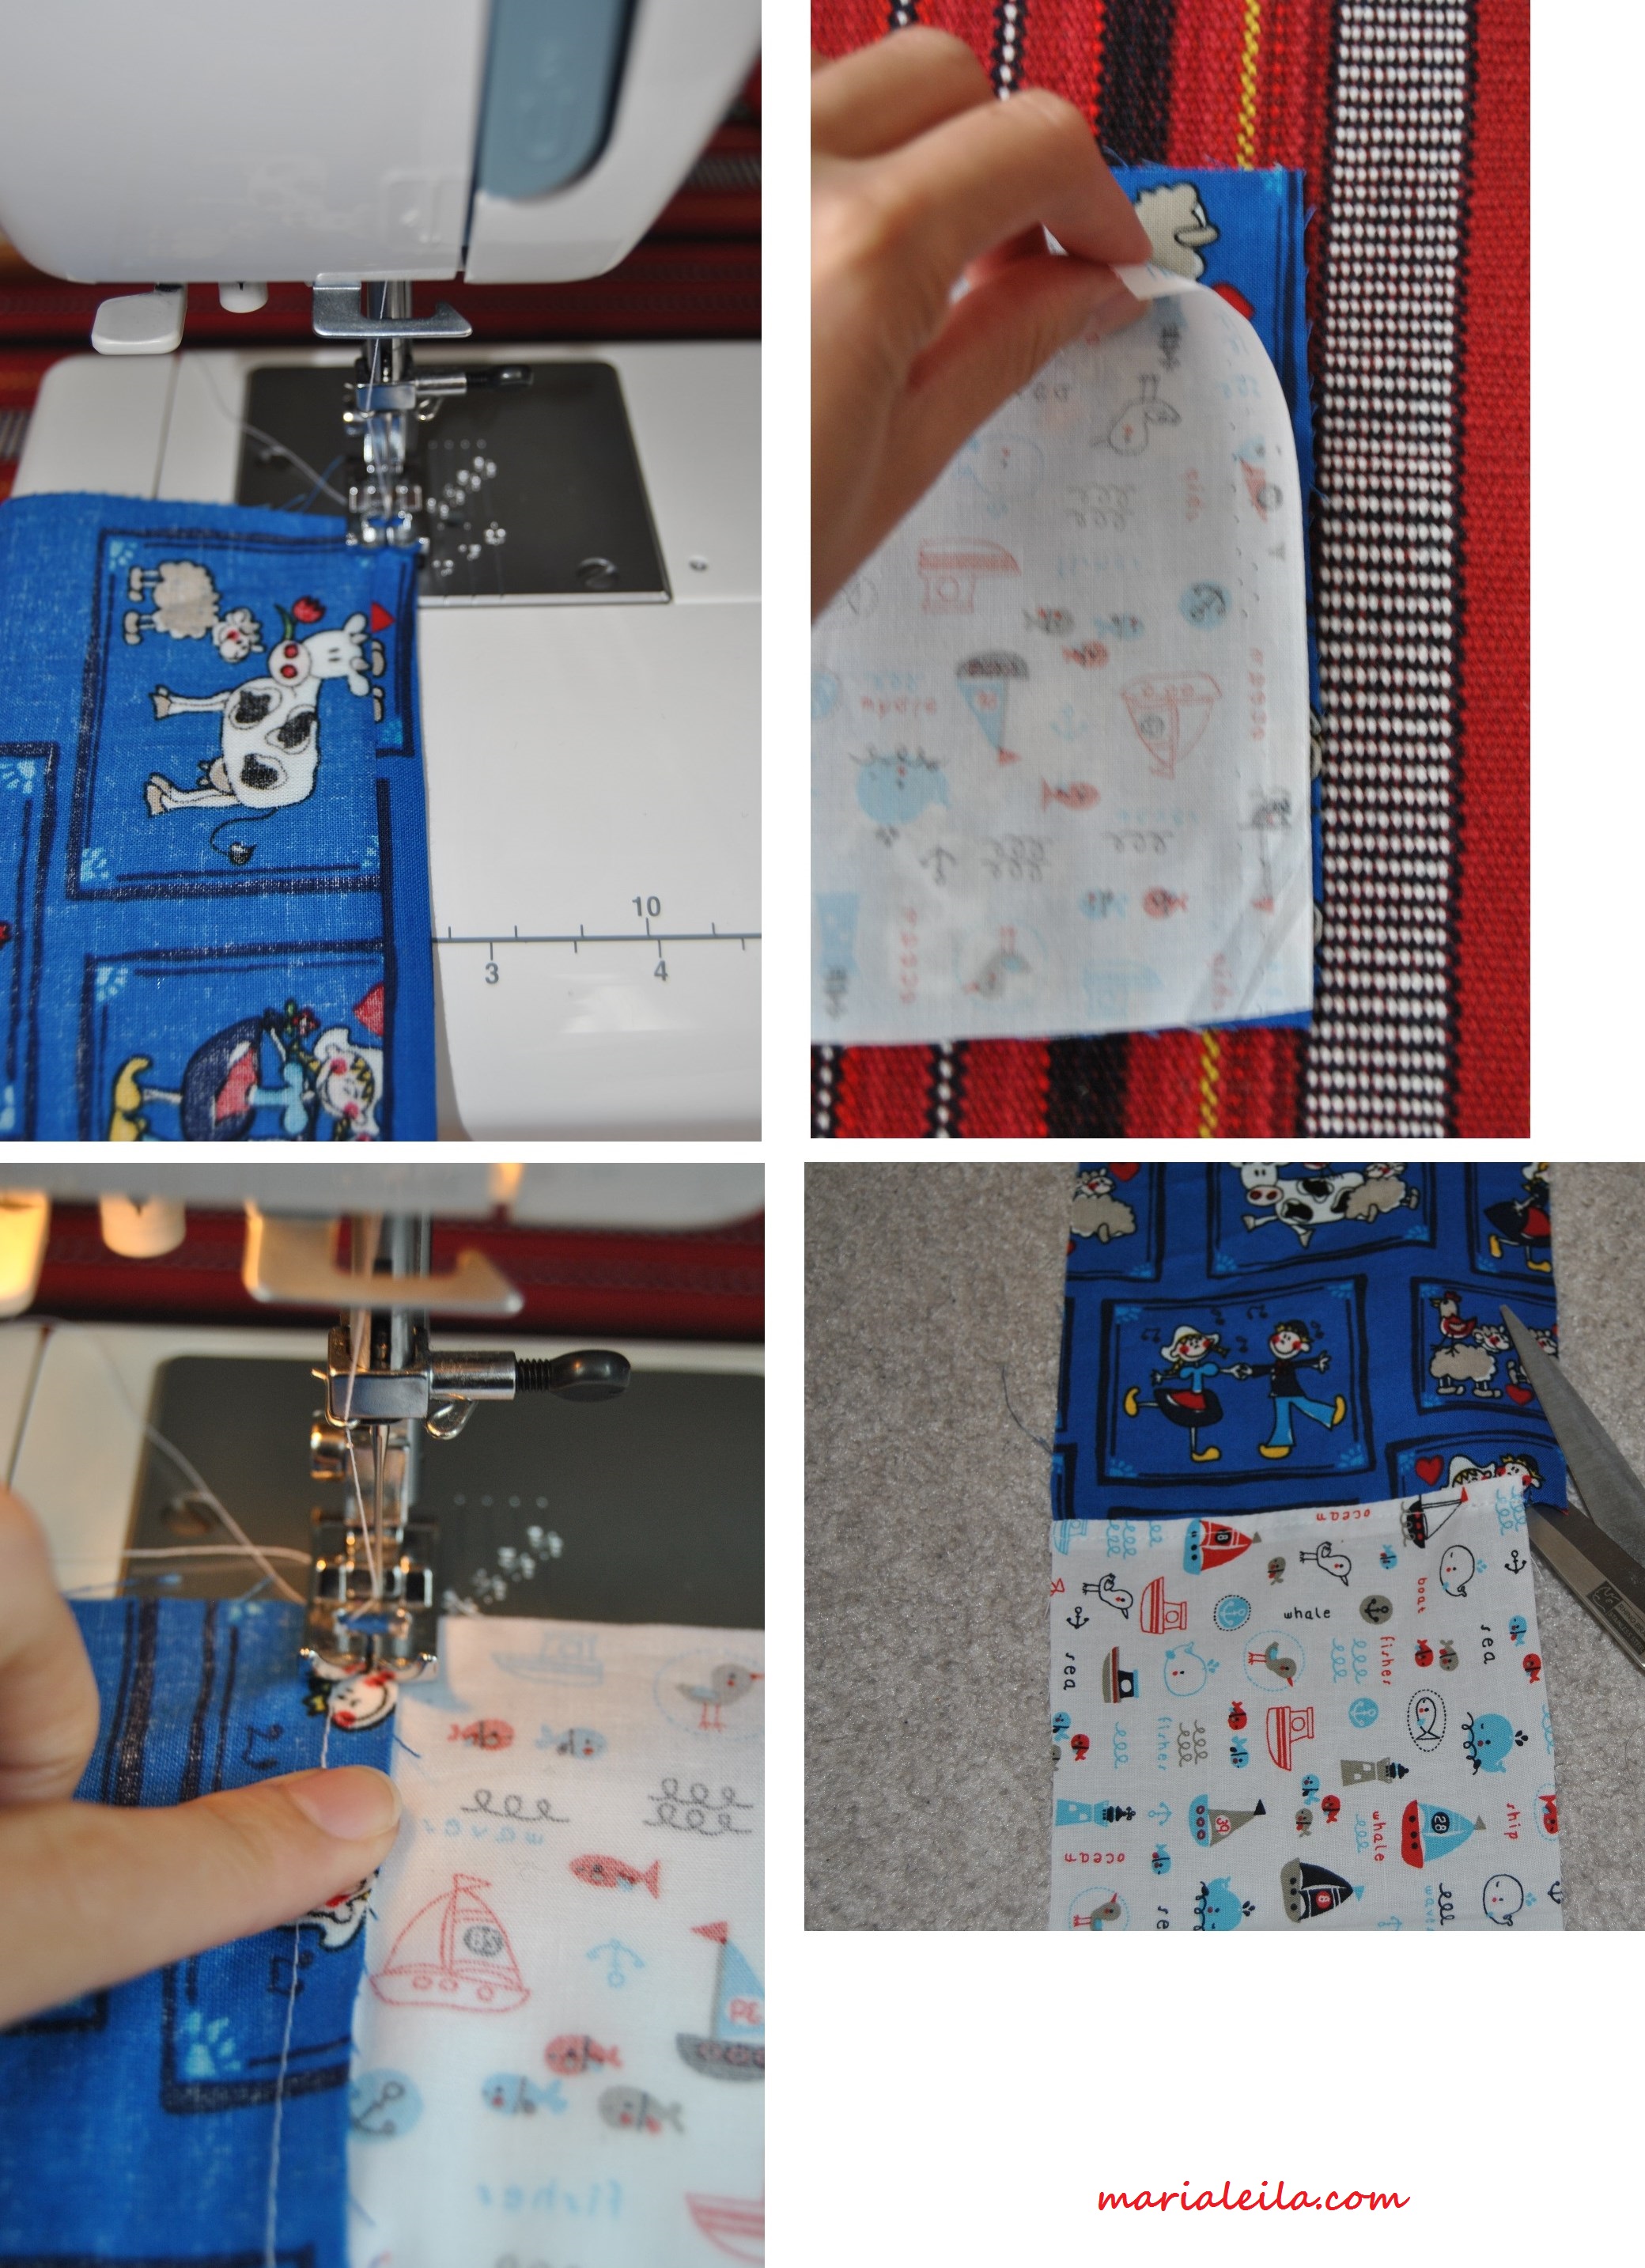
Start by stitching the short sides of the fabrics together. As shown on top-right photo, you do this by putting the fabrics right sides together and stitching them with about a centimeter seam.
Next, flatten the fabrics and do a flat-felled seam as shown on bottom-left photo. Do this step until all pieces are stitched together for two side rows. Cut the excess fabrics if necessary to make a straight and even row (bottom-right photo).
 Once your side rows are stitched together, it’s time to stitch them on the middle fabric by putting right sides together. Use pins to easily stitch your seams.
 This is how the back side looked before I stitched the backing fabric to cover it. Notice that I did the flat-felled seam method all through the whole process. This would prevent the fabric from fraying a lot especially during washing. Just because it will be covered and can’t be seen doesn’t mean it can be messy. 🙂
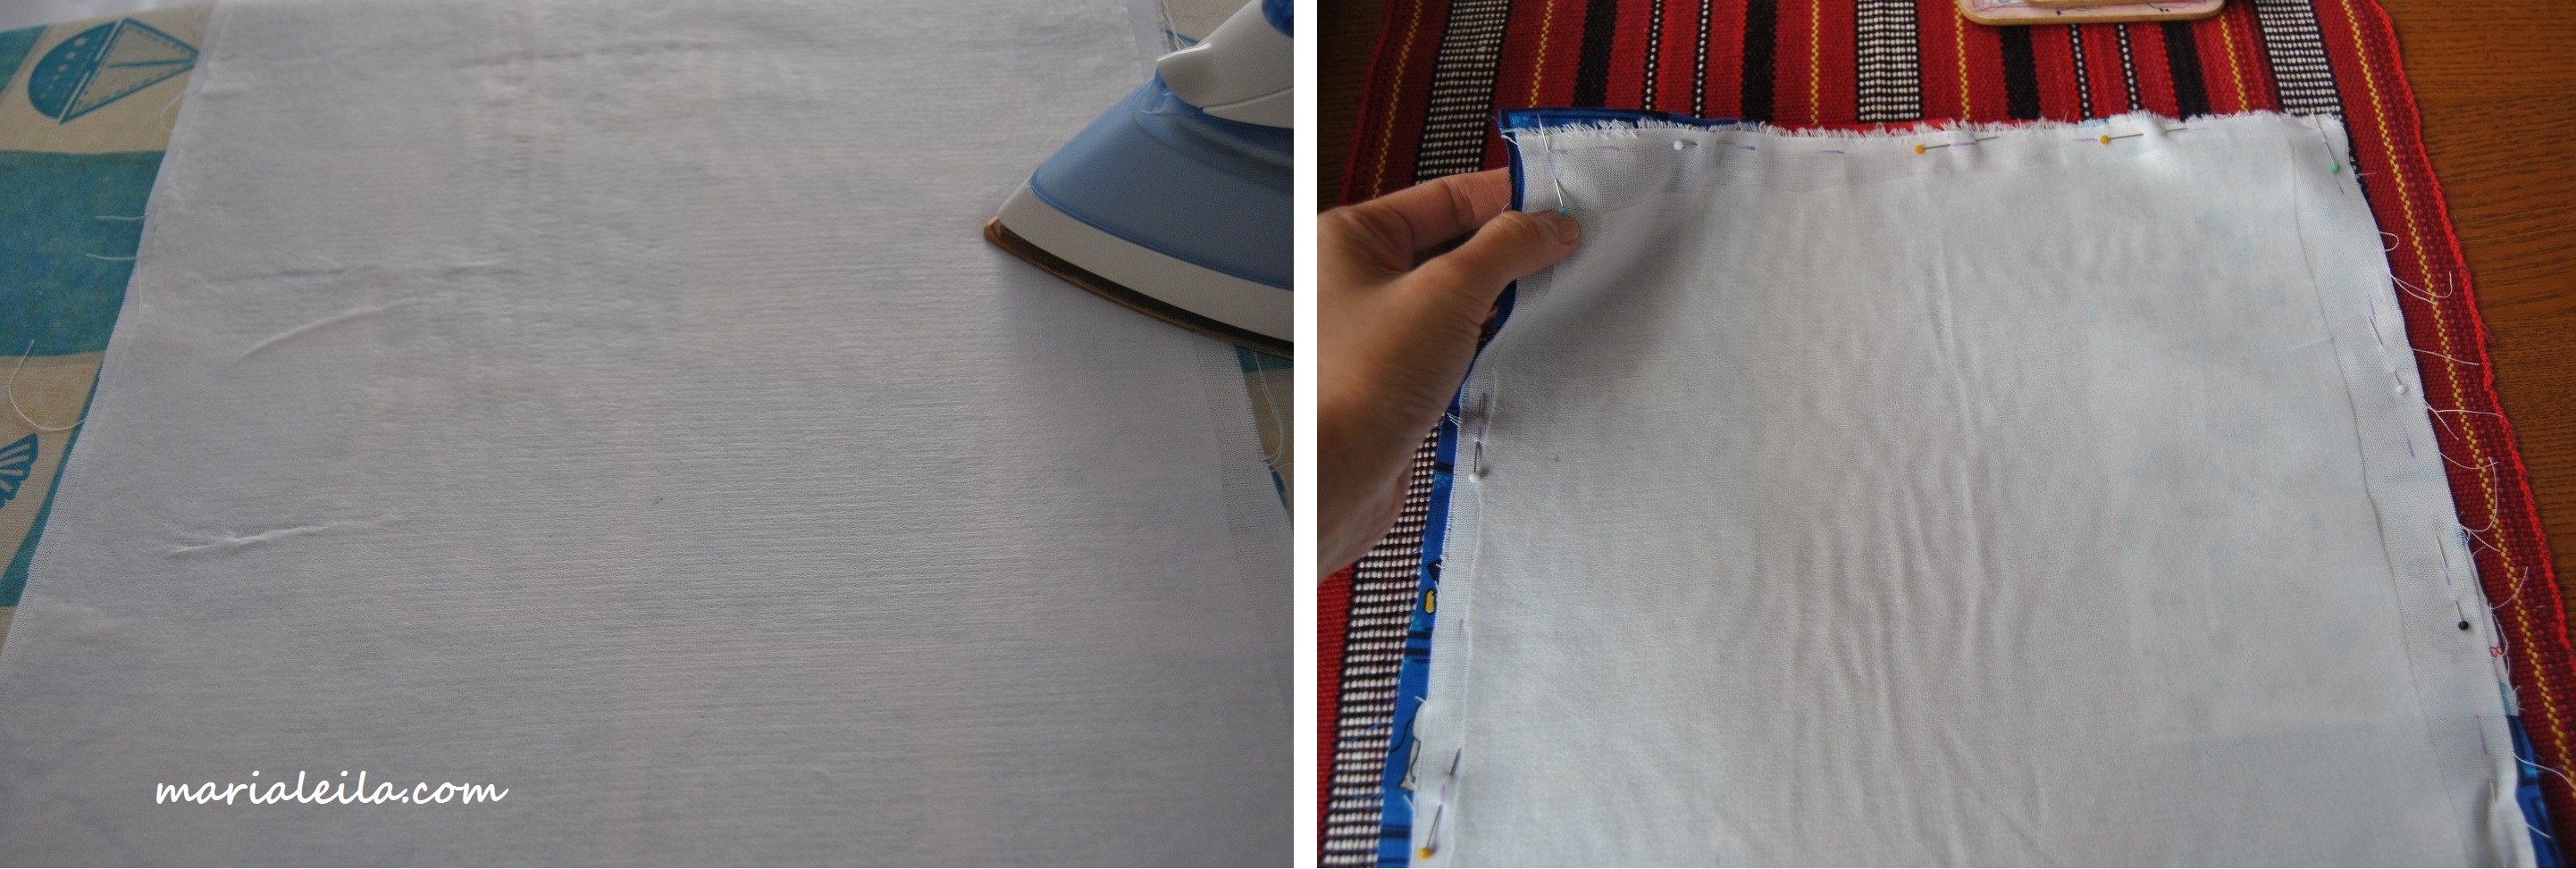 Time for the fusible interfacing to be ironed on your backing fabric. Once done, put the backing and patchwork pieces right sides together. Pin and stitch all the way leaving one short side open. Trim the edges for a cleaner look and do a zigzag stitch to make sure they wont fray. Turn your table runner right sides out poking the stitched corners flat with, in my case, a chopstick.
 To close the open side, fold the edges inside and top-stitch. Top-stitch all the way around the entire table runner.
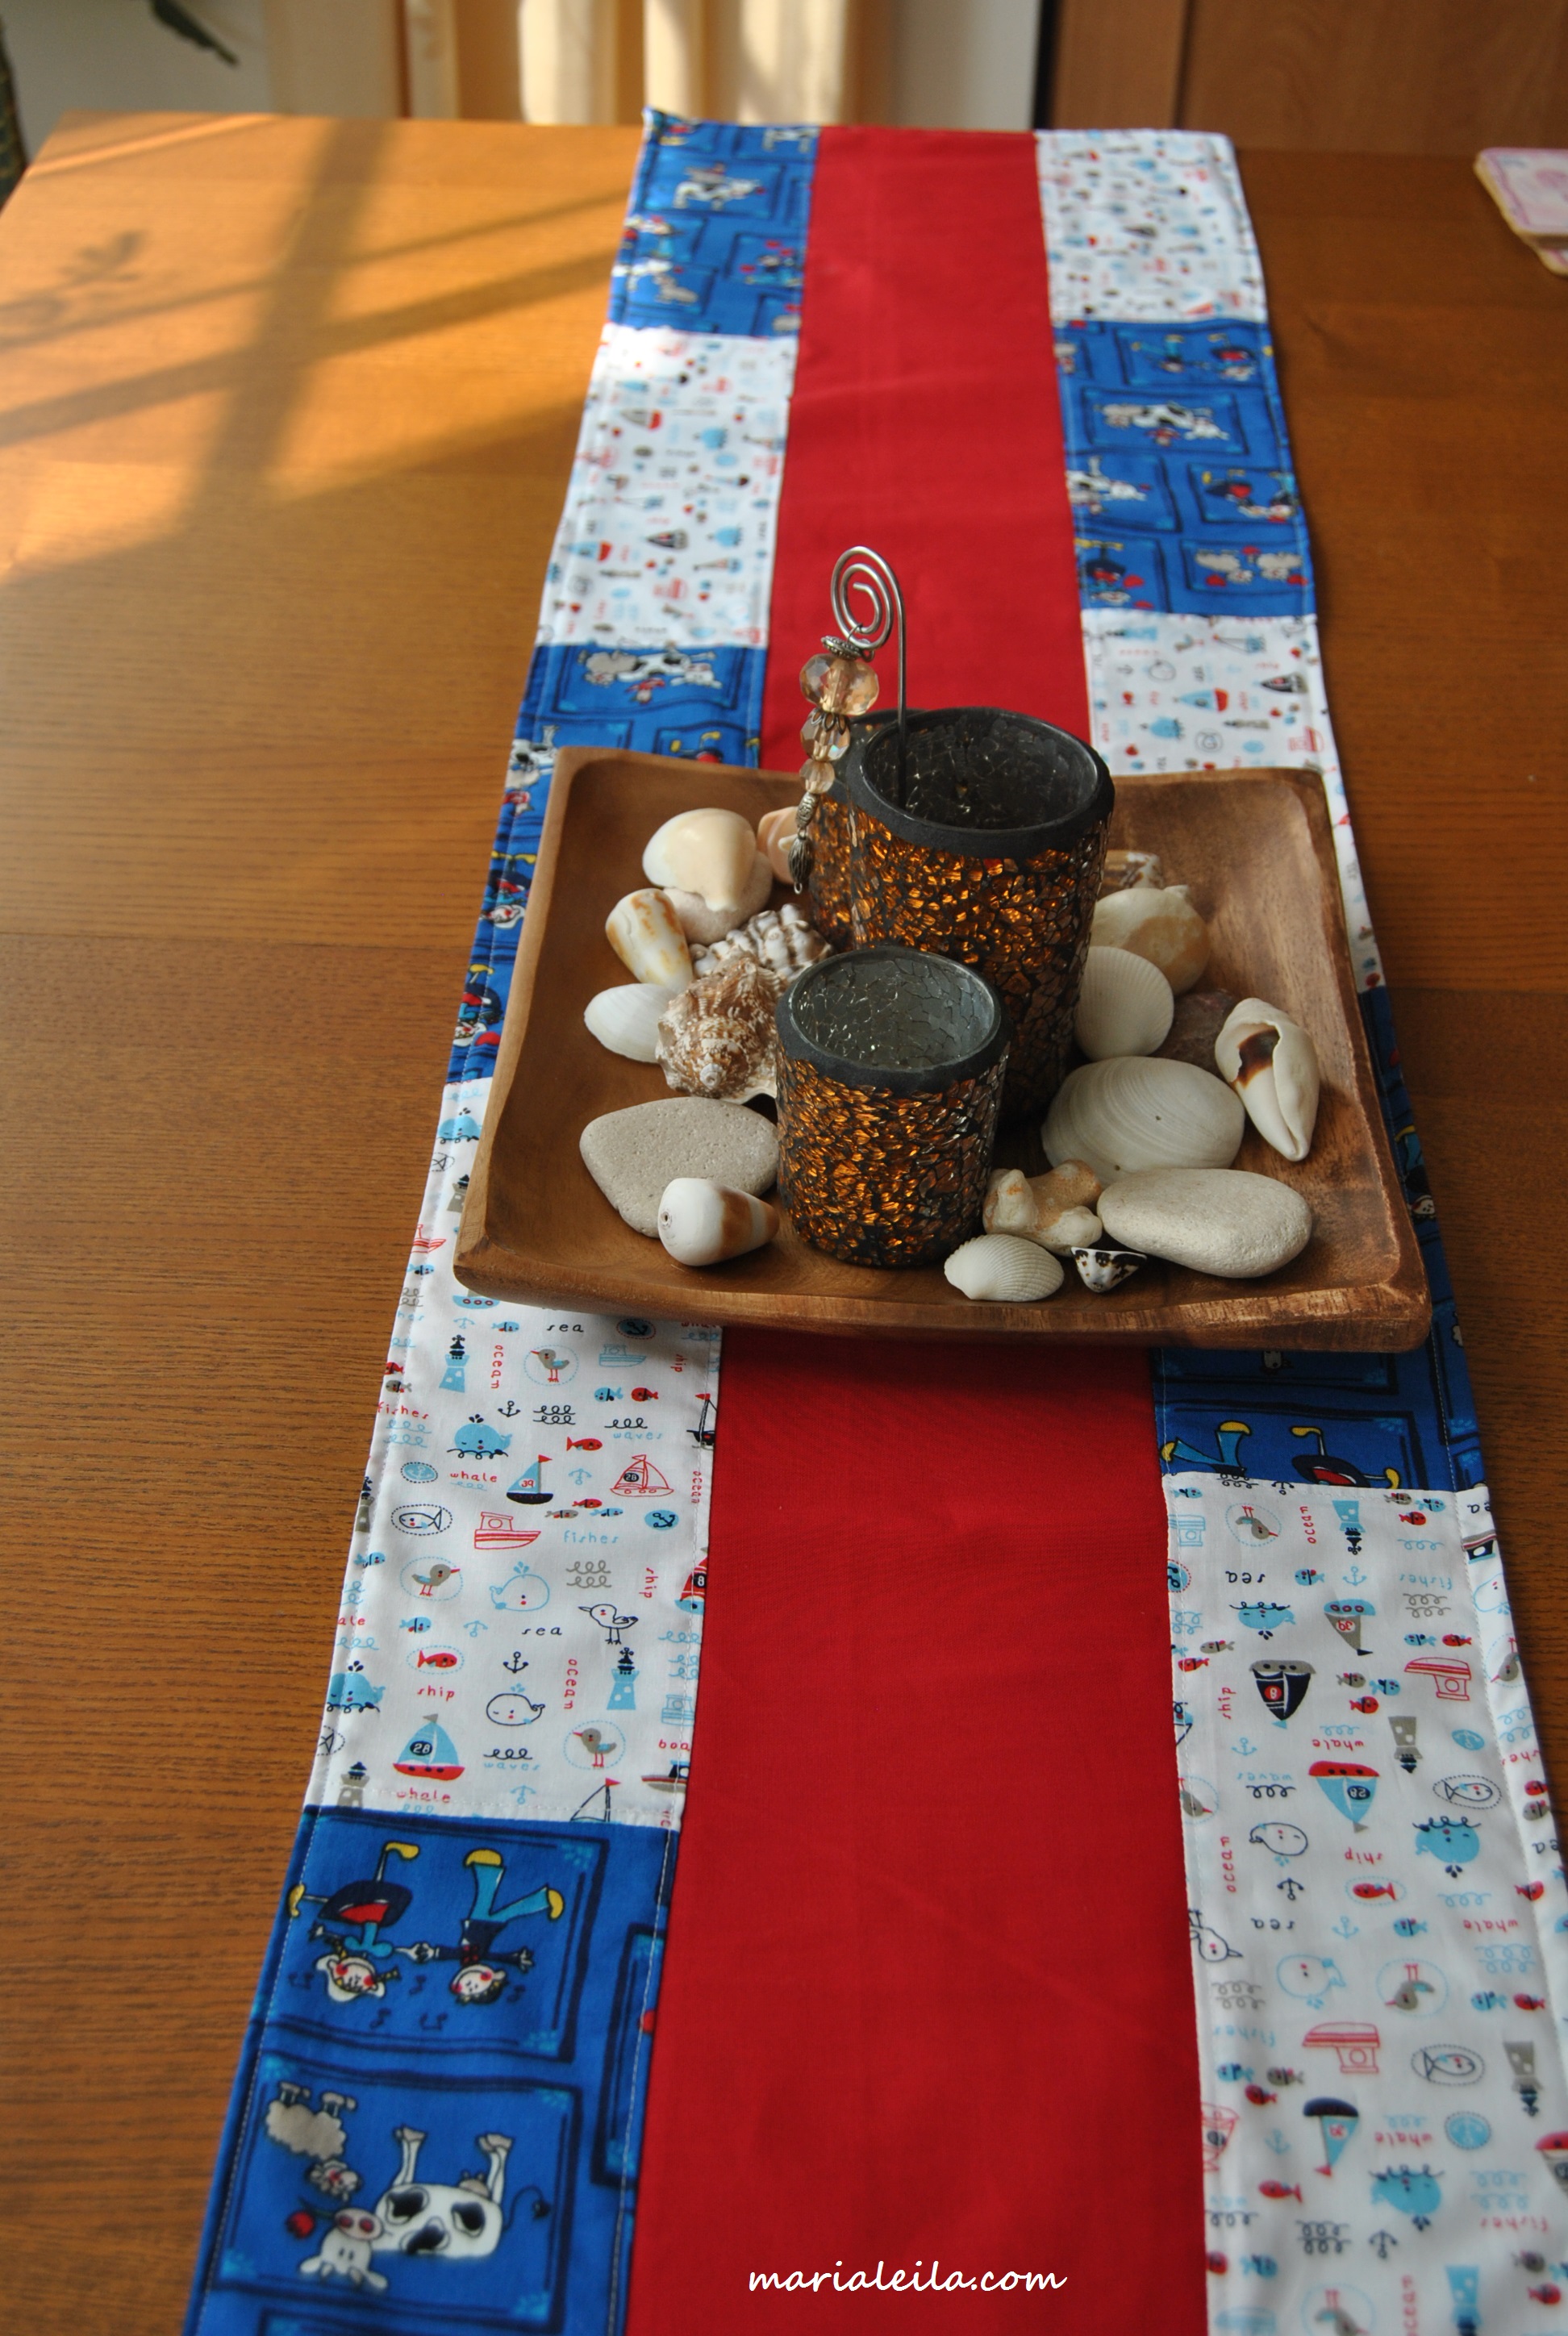
 Project done! Time to rest and admire your work by taking photos after photos of it. Doesn’t it feel great to know you did something productive today?
 Make one for your home, too!

So cute – well done! And I LOVE the photo with your toes in it! haha 😉
Thank you! And yes the toes. Just showing off my “diy” pedi, hehe :). Thank you for visiting!